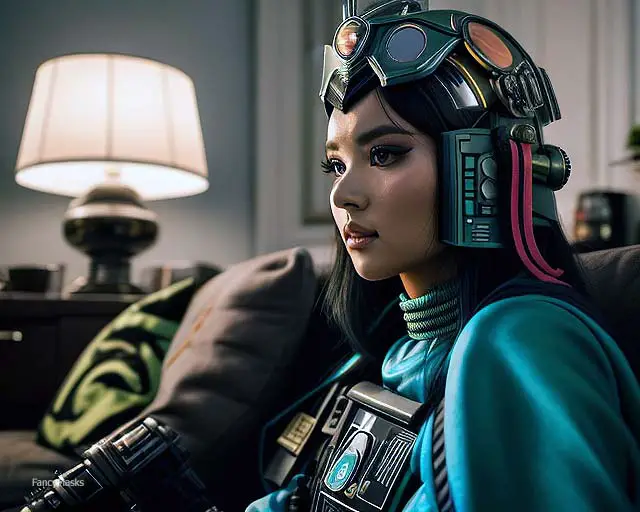
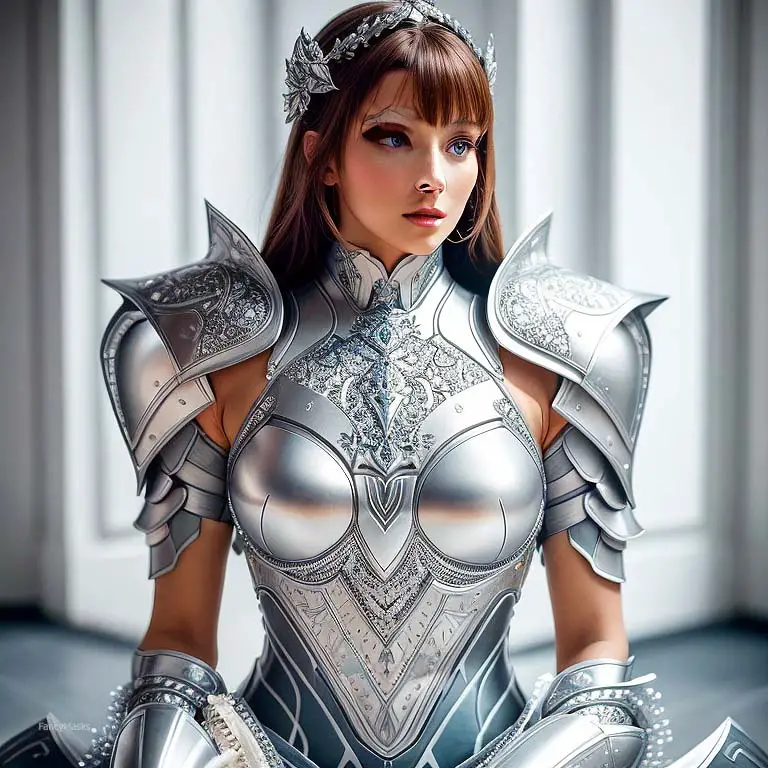
Cosplay enthusiasts know the thrill of embodying a beloved character. Every detail matters, from the clothing to the accessories, the makeup, and most certainly, the armor. If your character sports an impressive suit of armor, creating an authentic, realistic look can be a game-changer.
Through this post, we’ll teach you how to paint your cosplay armor to look realistic. From preparation to final touches, we’ll explore every nook and cranny. After all, every detail counts. And often, it’s the subtleties of color, the whisper of a weathered effect, the shimmer of realistic metal, that elevate a costume from good to unforgettable.
Importance of Realism in Cosplay Armor
Attention to detail plays a critical role. Yes, it’s about having fun and embodying your favorite characters. But it’s also about achieving authenticity, about replicating the intricate details that make your character unique. And, in many cases, the heart of this authenticity lies in the armor.
Imagine characters like Iron Man, Wonder Woman, or a stormtrooper from Star Wars without their iconic armor. The armor becomes a part of the character’s identity, an extension of their persona.
Realism in your cosplay armor can transport onlookers into the universe of your character. It gives your cosplay the depth and credibility that can make heads turn at a convention. It is that impressive armor, weathered and worn with the stains of epic battles, that can make a child gasp and say, “Look, mom! It’s a real superhero!”
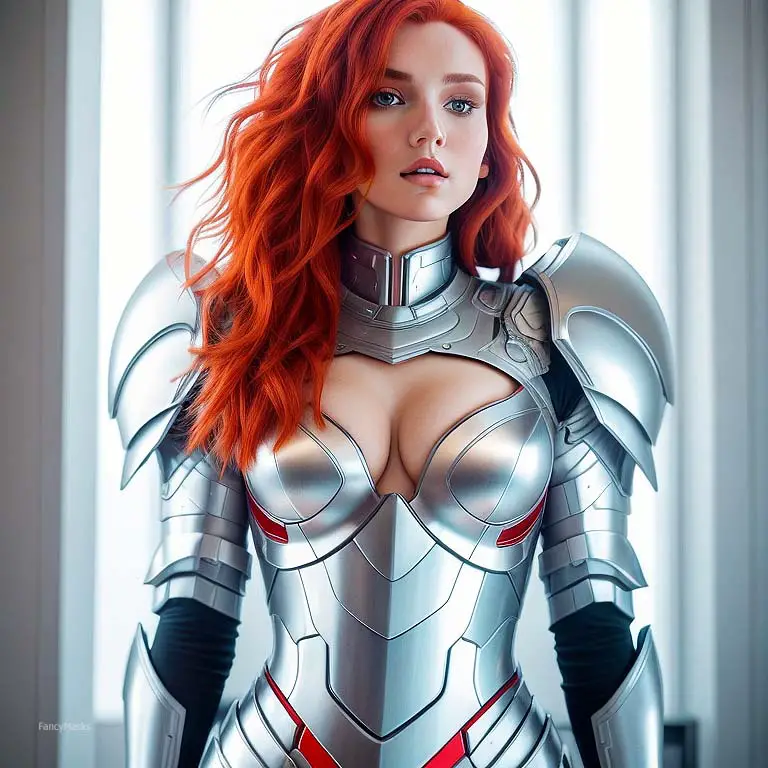
Think of armor as more than a protective shell. It is a canvas for storytelling. Every scratch, every dent tells a story of epic battles fought, of narrow escapes and victorious encounters. A shiny, flawless piece of armor might look nice, but it lacks history, lacks the storytelling potential that a carefully painted, realistic armor carries.
So, ready your paintbrushes, gather your materials, and let’s delve deeper into the art of painting realistic cosplay armor. The world of your character awaits!
Preparation of Cosplay Armor
The art of painting lies not just in the strokes of your brush, but in the preparation that precedes it. A well-prepared surface can make all the difference in achieving a smooth, realistic finish. This section will guide you through the essential steps of preparing your cosplay armor for painting.
Cleaning
Start by cleaning your armor thoroughly. Dust, grime, or grease can interfere with the paint’s adhesion, resulting in an uneven finish or chipping. Use a soft cloth and a mild detergent like dawn to wipe down the surface. Rinse it carefully, making sure no soap residue remains. Allow it to dry completely before moving on to the next step.
Sanding
This step helps create a better surface for the paint to adhere to, particularly if your armor has a glossy finish. Use fine-grit sandpaper (around 220-grit) and lightly sand the entire surface. Take care not to apply too much pressure, as you only want to create a slightly roughened surface for better paint grip. Remember to sand in the direction of any details or grooves in the armor. This ensures that you reach all the areas that need paint.
Once done, clean your armor again to remove any dust or particles from sanding. A tack cloth works well for this, but a soft, dry cloth will also suffice.

Priming
Priming is the final step in the preparation process. A primer creates a smooth and uniform surface for your paint. It can also prevent the paint from soaking into the armor material, which is particularly important for porous materials like foam.
Using Primer will mean you need to use less paint, and it will coat more evently.
Select a primer that is suitable for your armor’s material. Spray primers often work well and provide a uniform coverage. Apply a thin coat of primer over your entire armor piece, and let it dry completely before applying a second coat. The primer should be completely dry before you start painting.
It’s important to note that priming should be done in a well-ventilated area. Wear a mask and gloves to protect yourself from the fumes and any potential skin reactions.
Preparation may seem tedious, but it is a crucial step in the painting process. Patience and thoroughness in this stage will pay off when you see the beautiful, realistic finish on your cosplay armor.
With your armor clean, sanded, and primed, we now venture into the exciting world of color selection and painting techniques. It’s time to let your creative juices flow and bring your character to life!

Selection of Materials
Just as a chef carefully selects ingredients for a gourmet dish, a cosplayer must carefully select the materials for painting armor. The quality and suitability of your paints and tools can significantly affect the final look of your cosplay armor. This section will guide you through the process of choosing the right materials for your project.
Choosing Paints
The type of paint you choose depends largely on the material of your armor. For most cosplay armor materials like foam, plastic, or thermoplastics, acrylic paints often work well. They dry quickly, come in a wide variety of colors, and offer easy cleanup with water.
For a metallic look, consider using metallic or pearlescent paints. These can add a beautiful shimmer to your armor, enhancing its realism.
Remember, while it may be tempting to choose cheaper paints, the quality of your paint can directly impact the look and durability of your armor. Investing in good-quality paints can ensure a smoother application and a more vibrant, long-lasting color.
Choosing Brushes and Sponges
A variety of brushes will help you create different effects and reach all areas of your armor. Consider getting a set that includes flat, round, and detail brushes of various sizes.
Sponges can also be a valuable tool for painting armor. They can be used to create texture, blend colors, or apply a light wash of color. Consider having a variety of sponges, from fine to coarse, to offer more versatility in your painting.
Choosing a Paint Sealer
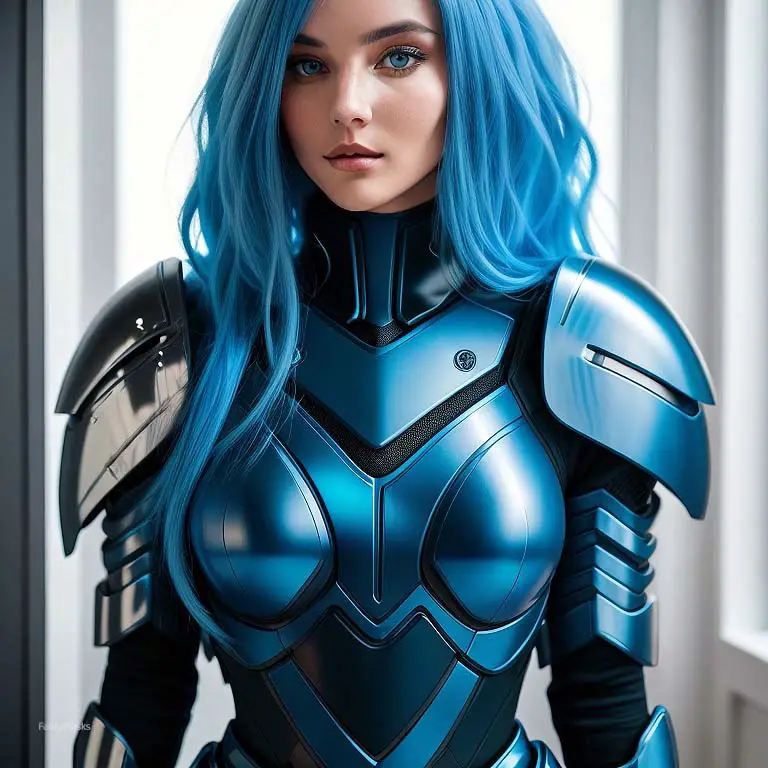
Once your paint job is complete, a good sealer can help protect it from scratches and wear. Sealers come in various finishes, from glossy to matte. Choose a sealer that matches the desired finish of your armor. Spray sealers are often easier to apply and provide a more uniform coverage.
Remember to test your sealer on a scrap piece of the same material as your armor before applying it to the finished piece. This will allow you to see the result and make any necessary adjustments before applying it to your work.
Choosing the right materials may require a bit of research and possibly some trial and error, but the result will be worth it. Quality materials can significantly enhance the look and durability of your cosplay armor, ensuring that it stands up to conventions, photoshoots, and other events while looking fantastic.
With your materials gathered, it’s time to dip your brush into the paint and start bringing your armor to life. In the next section, we’ll discuss basic painting techniques that will form the foundation of your painting journey. So, let’s dive in!
Basic Painting Techniques
With your armor primed and materials gathered, it’s time to dive into the paint. This section will introduce you to some basic painting techniques that will help you create a realistic look for your cosplay armor.
Base Layer
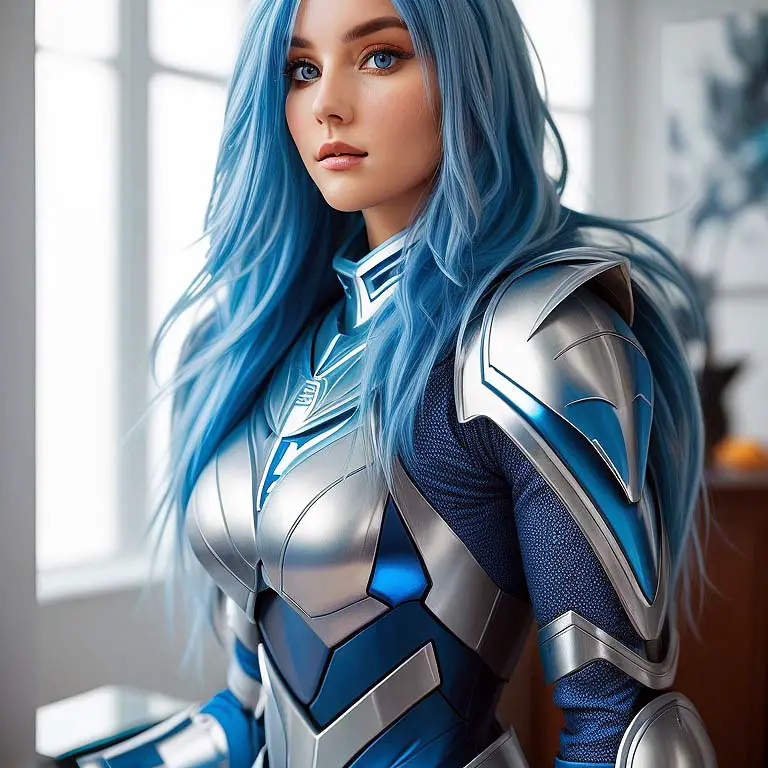
Your base layer sets the tone for your armor. This layer should be the primary color of your armor. Use a large flat brush to apply the paint, making sure to cover all areas, including the crevices and edges. Apply the paint in thin, even coats to prevent visible brush strokes or dripping. Depending on the color and type of paint, you might need multiple coats to achieve full coverage. Always ensure each coat is dry before applying the next.
Layering
Layering involves applying multiple layers of paint in different colors to create depth and dimension. Start with your darkest color, usually a shade of black or brown. Apply it to areas that would naturally be shadowed, like under edges or deep grooves.
Once that layer is dry, apply your main color, focusing on the middle areas of the armor, and leaving the darker color visible in the deeper areas.
Finally, apply your lightest color, usually a lighter version of your main color or a metallic color, to the raised areas of the armor that would catch light. This technique can make your armor appear more three-dimensional and realistic.
Dry Brushing
Dry brushing is a technique that can add a worn, weathered look to your armor. It involves applying a small amount of paint to your brush, wiping off most of it on a paper towel until the brush is almost “dry”, and then lightly brushing it over the raised areas of the armor. This results in a subtle highlight that can make your armor look worn and weathered.
Washing
Washing is a technique where a thin, watery paint (known as a “wash”) is applied over the entire piece. The wash settles in the crevices and low points of the texture, creating depth and shadows. This can add a level of detail and realism to your armor that can’t be achieved with basic painting techniques alone.
Each of these techniques can be used individually or in combination to create a unique look for your armor. The key is to practice and experiment to see what works best for your specific piece.
In the next section, we’ll explore more advanced techniques that can add further depth and realism to your cosplay armor. So keep your brushes at the ready as we continue our journey into the world of armor painting!
Advanced Painting Techniques
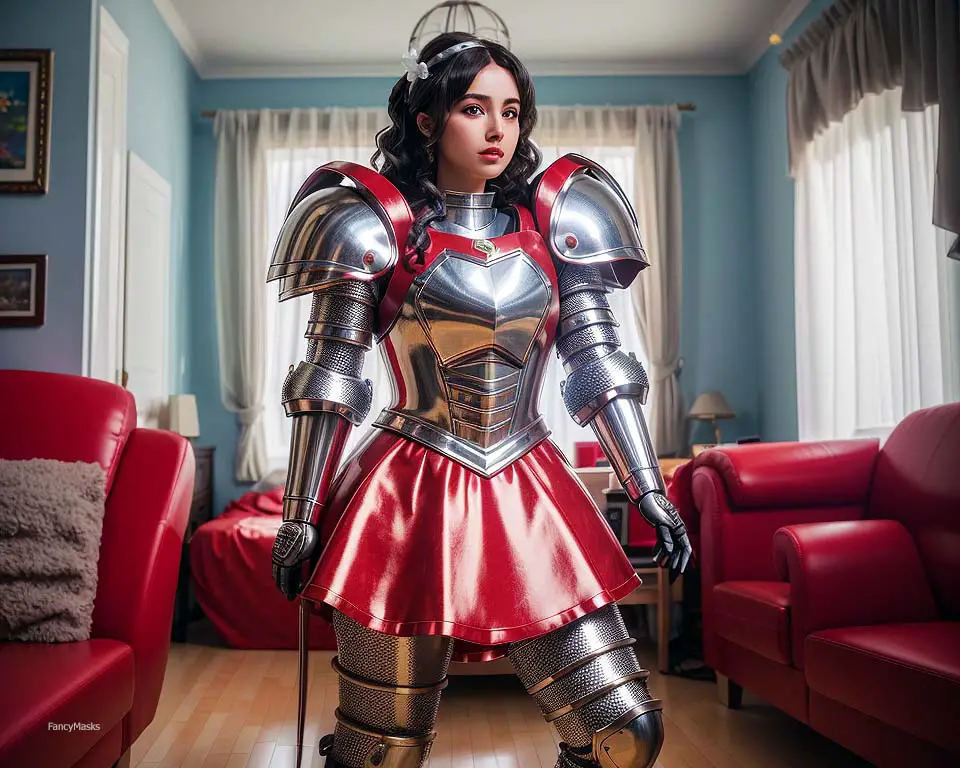
Mastering the basic techniques will get you started on your painting journey, but it’s the advanced techniques that truly bring your armor to life. This section introduces you to some of these techniques, which will give your cosplay armor a more detailed and realistic finish.
Weathering
Weathering is a technique that makes your armor look battle-worn and aged, adding to its realism. This is achieved by adding effects such as scratches, dents, rust, and dirt.
For scratches, use a fine detail brush and a contrasting color to your base paint. Lightly sketch the shape of the scratch, then add some dark color at the edges to give depth.
For dents, paint a dark oval shape, then paint a lighter color on the bottom half of the oval. This gives the illusion of a dent with shadow at the top and reflected light at the bottom.
Rust effects can be created by dabbing a mix of brown and orange paints in areas where rust might naturally occur, like around bolts or in corners.
Dirt can be represented by lightly brushing brown paint onto areas where grime would naturally accumulate.
Highlighting and Shading
Highlighting and shading are crucial for giving your armor depth and a three-dimensional look. Highlights are lighter colors applied to raised areas that light would naturally hit. Shading involves adding darker colors to areas that would naturally be in shadow. Together, these techniques give the illusion of light hitting your armor and can make it look more realistic.
Texture Painting
Texture painting is adding physical texture to your armor through paint. This can be achieved using a variety of materials, such as sponges, stippling brushes, or even crumpled paper. Dabbing these into paint and then onto your armor can create a variety of interesting textures.
Non-traditional Materials
Non-traditional materials, like salt, coffee grounds, or baking soda, can be mixed with paint to create unique textures and effects. For example, sprinkling salt onto wet paint can create a corroded, pitted metal effect once the paint dries and the salt is brushed away.
While these advanced techniques may seem daunting, remember that practice makes perfect. Try them out on a test piece before applying them to your armor, and don’t be afraid to experiment. The goal is to have fun while making your cosplay armor as realistic as possible.

Correcting Mistakes and Finishing Tips
Nobody is perfect, and when it comes to painting, mistakes are a part of the process. But the good news is that most mistakes can be corrected, and sometimes, they can even add to the realism of your armor. This section will provide some tips on how to correct common painting mistakes and give your armor the perfect finishing touch.
Correcting Mistakes
If you’ve accidentally applied too much paint or the color doesn’t look right, don’t panic. While the paint is still wet, you can wipe it off with a damp cloth. If the paint has already dried, you can gently sand it off with fine-grit sandpaper and repaint the area.
Mistakes in detailing, like uneven lines or smudges, can often be fixed by painting over them with the base color. Again, patience is key. Wait for the paint to dry completely before making any corrections.
Creating Consistency
If you’re painting multiple pieces of armor, it’s important to ensure consistency across all pieces. This means using the same color palette, painting techniques, and weathering patterns. This will ensure that all parts of your armor look like they belong together.
Sealing Your Armor
After you’ve finished painting and are happy with the result, it’s time to seal your armor. A good sealer will protect your paint job from scratches and wear, and it can also enhance the overall look of your armor.
Before you apply the sealer, make sure your paint job is completely dry. Apply the sealer in a well-ventilated area and use a mask to protect yourself from fumes.
Follow the instructions on the can for the best results, but generally, you’ll want to hold the can about a foot away from your armor and spray in short, even strokes. It’s better to apply multiple light coats than one heavy one, as this can prevent dripping and uneven coverage.
Once the sealer is dry, your armor is ready to wear!
The process of painting cosplay armor can be challenging, but it’s also incredibly rewarding. Each stroke of your brush brings your character to life, and every detail adds to the authenticity of your cosplay. So take your time, have fun, and remember: in the world of cosplay, it’s all about bringing your favorite characters to life in the most realistic way possible. So put on your newly painted armor and step into the world of your character. You’ve earned it!
Conclusion
From selection of materials to intricate detailing, the process of painting cosplay armor is a journey. Each step presents opportunities for creativity and individuality, allowing you to infuse your own touch into every piece of armor.
Reflecting on the Process
Painting cosplay armor isn’t just about achieving a certain look. It’s about embracing the process, learning new skills, and pushing the boundaries of your creativity. Mistakes and challenges are not setbacks, but chances for growth. Every armor piece you paint adds to your experience, honing your skills and preparing you for more complex projects.
Sharing Your Work
Once your armor is complete, don’t forget to share your work with the world. We’d love to see your creations on our instagram page. Cosplay is a community, and fellow cosplayers can appreciate the hard work and skill that goes into painting armor. Share pictures of your work on social media, join cosplay groups, participate in conventions. The feedback and appreciation you receive will make all your hard work worth it.
Continuing Your Journey
Remember, there’s always room to grow and improve. Experiment with new techniques, try painting different materials, and push your creativity to new heights. The world of cosplay is constantly evolving, with new materials and techniques emerging all the time. So keep exploring, keep learning, and most importantly, keep painting.
In the world of cosplay, your creativity is your only limit. So let your imagination run wild, let your paintbrush dance, and let your armor tell a story. The story of a character brought to life, of skills mastered and challenges overcome, of countless hours spent on a labor of love. That’s the true art of cosplay armor painting.
FAQs and Troubleshooting Tips
In this final section, we’ll address some frequently asked questions about painting cosplay armor, and provide some troubleshooting tips for common issues. Our goal is to ensure that you feel confident and ready to take on your armor painting project, no matter what challenges you may encounter along the way.
Frequently Asked Questions
Q: What type of paint should I use for foam armor?
A: Acrylic paint is a popular choice for foam armor due to its flexibility, easy application, and wide range of available colors.
Q: How can I prevent paint from cracking on my armor?
A: Cracking can often be caused by applying thick layers of paint. Try applying multiple thin layers instead, allowing each one to dry fully before applying the next.
Q: How can I make my armor look metallic?
A: For a metallic look, consider using metallic or pearlescent paints. Dry brushing with metallic paint can also add a realistic metal effect.
Troubleshooting Tips
Issue: Paint is not adhering to the armor
Solution: This issue often arises if the armor has not been properly primed. Make sure to clean your armor thoroughly and apply a suitable primer before painting.
Issue: Paint is peeling off
Solution: Peeling can occur if the armor flexes a lot. Consider using flexible paints like acrylics or using a flexible primer specifically designed for materials like foam.
Issue: Brush strokes are visible
Solution: Visible brush strokes can be a result of using a brush that’s too small, or paint that’s too thick. Try using a larger brush for base coats and thinning your paint a bit with water.
Remember, painting cosplay armor is as much about problem-solving as it is about creativity. Each issue you encounter is an opportunity to learn and improve. So, keep these tips in mind, but don’t be afraid to find your own solutions and make the process your own.
Thank you for taking the time to read this guide. We hope you found it helpful and inspiring. Good luck with your painting endeavors, and remember: in the world of cosplay, there are no limits, only endless possibilities. Embrace the journey, and create something amazing!

