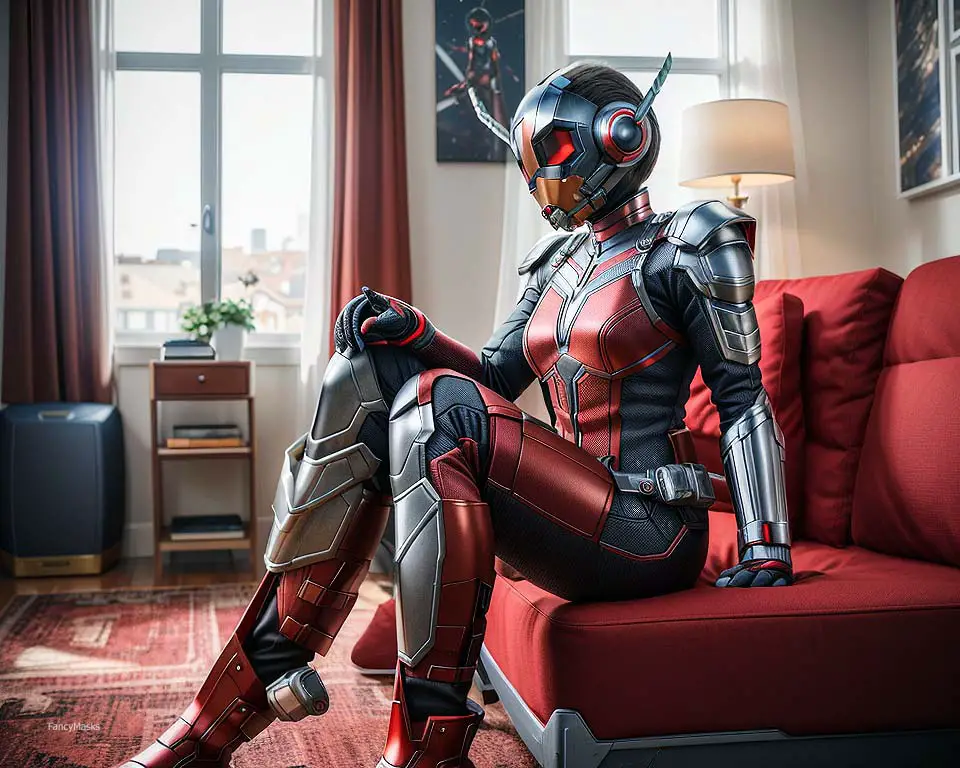
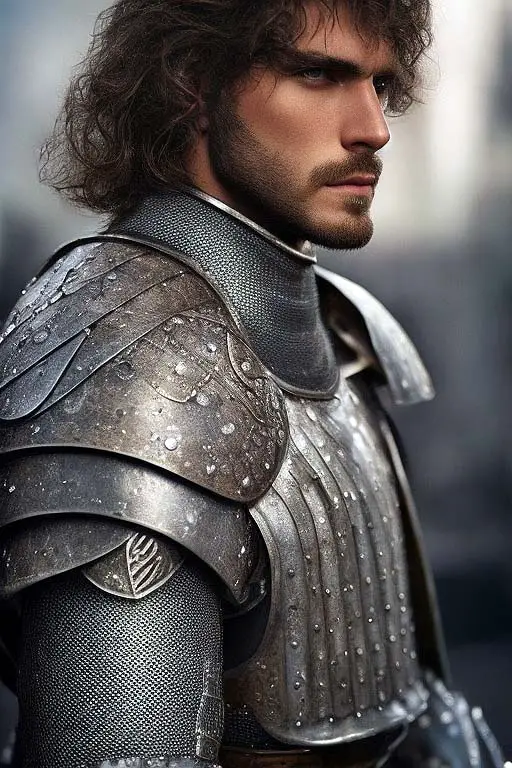
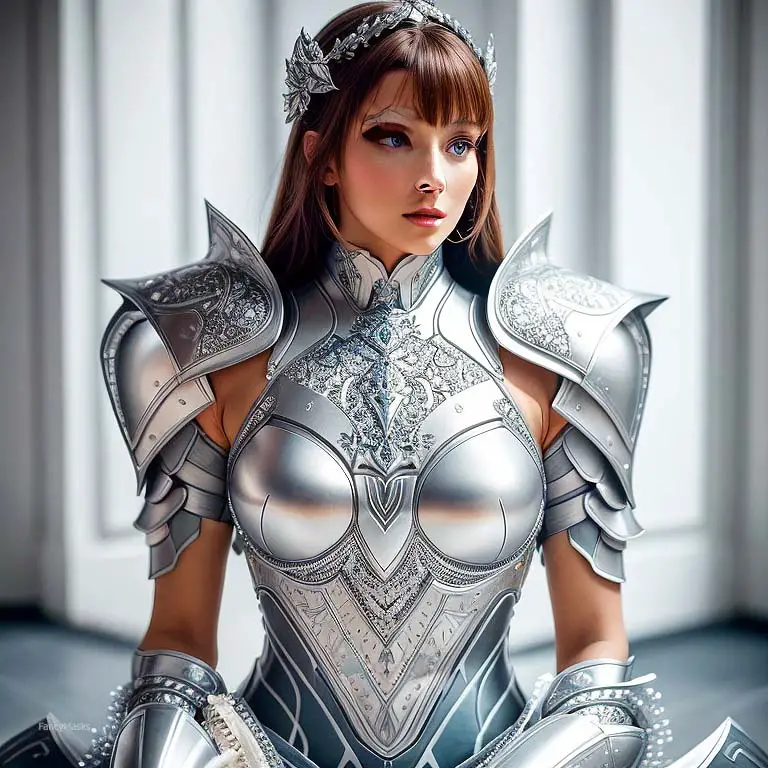
Cosplay armor, crafted meticulously by enthusiasts, often looks brand new – something that may not align with the worn, battle-hardened look many characters have. This is where ‘weathering’ comes in.
Weathering refers to techniques used to make cosplay armor look aged, battle-scarred, or exposed to the elements. These methods add a layer of realism to the armor, transforming it from a shiny, off-the-shelf appearance to a lifelike prop that tells a story of its own.
Through weathering, you can make your armor appear as if it has been through many battles, endured harsh climates, or even survived a post-apocalyptic world.
Stay with us as we explore the tools, techniques, and tips needed to give your cosplay armor a realistic weathered look.

II. Basic Materials for Weathering Cosplay Armor
Weathering your cosplay armor involves the use of various tools and materials to achieve an aged and realistic look. Here’s a basic list to get you started:
- Acrylic Paints: The primary medium for most weathering effects. Choose a variety of colors, but ensure you have black, silver, and brown shades. These will help simulate dirt, scratches, and metallic shine.
- Brushes: A variety of sizes will assist in different weathering effects. A larger brush is suitable for applying base coats or washes, while a smaller brush will help with detailed work like scratches and rust spots.
- Sponges: Sponges can be used to create a texture or to dab paint onto surfaces, giving a worn effect.
- Sandpaper: Ideal for creating scratches and worn-out effects on your armor. Coarser sandpaper will leave more noticeable scratches, while finer sandpaper can be used to polish and smooth.
- Rags or Cloth: Useful for wiping down excess paint, especially when creating wash effects.
- Sealant: A sealant or varnish will help to protect your weathering work once complete and give your armor a finished look.
The tools above are your key to unlocking a new level of depth and realism in your cosplay armor. Ready to start weathering? Let’s move onto understanding how to choose the right armor material.

III. Choosing the Right Armor Material
In the world of cosplay, the material you choose for your armor can heavily influence its appearance and how you’ll need to weather it. Let’s explore some commonly used materials:
Foam
Foam, specifically EVA (ethylene-vinyl acetate) foam, (Our guide to foam armor) is one of the most popular choices due to its versatility and accessibility. It’s lightweight, easy to shape with heat, and readily available at most craft stores.
To weather foam armor, you can use sandpaper or a rotary tool to create scratches and dents. A heat gun can be used to seal the foam and make it more receptive to paint. Remember to apply a primer before painting to prevent the paint from being absorbed into the foam.
Thermoplastics
Thermoplastics, such as Worbla, are another popular choice for cosplay armor. These materials become malleable when heated, allowing you to shape them as needed.
When it comes to weathering, thermoplastics can be trickier. Sanding can leave marks that might not be desirable, so test this on a scrap piece first. However, thermoplastics take paint well and can benefit from techniques like dry brushing and washes.
3D Printed Materials
3D printing has become more popular in recent years as it allows for detailed, precise armor pieces. The material commonly used is PLA (polylactic acid).
For 3D printed armor, sanding is an essential first step not only for weathering but also to smooth out the print lines. After this, you can use traditional weathering techniques with paint.
Fiberglass and Resin
While more advanced and costly, fiberglass and resin can result in sturdy, long-lasting armor. They can be sanded and painted similarly to other materials, making them suitable for various weathering techniques.
Metal
Authentic metal armor isn’t as common in cosplay due to its weight and difficulty to work with. But if you do opt for metal, weathering can involve actual rusting processes along with paint techniques.

IV. Understanding the Weathering Concept
Weathering isn’t just about making your armor look old. It’s about telling a story through each scratch, dent, and faded spot. Before starting your weathering process, you must understand how objects age in real-world conditions.
Natural Wear and Tear
Over time, items undergo wear and tear due to frequent handling or usage. In the case of armor, think about where it would have received the most impact in a battle. Edges and protruding parts are likely to get hit more often, so these areas should show more weathering.
Exposure to Elements
Environmental factors like sun, rain, snow, or wind can contribute to the aging process of armor. For example, armor from a desert character may show sun-fading, while armor from a sea-faring character may exhibit signs of oxidation and rust.
Oxidation and Rust
Metals oxidize over time, especially when exposed to moisture. This oxidation can lead to rust, which typically shows as reddish-brown discoloration. If your character’s armor is made of iron or steel, it would likely have rust spots.
Dirt and Grime
Dirt, dust, and grime build up over time, especially in crevices and less accessible areas. If your character is often in dirty environments or doesn’t clean their armor frequently, it would show accumulated dirt and grime.
Imitating Weathering Effects
Now that we understand how objects weather naturally, how can we imitate these effects on our cosplay armor? Here are some basic techniques:
- Scratches and Scuffs: Use sandpaper or a rotary tool to create visible scratches. Concentrate on areas that would see more use or impact.
- Fading: Apply a lighter shade of your base paint to areas that would be exposed to the sun or other harsh weather conditions.
- Oxidation and Rust: Use a combination of orange, brown, and red paint in sporadic patches to imitate rust. Vary the shade and intensity for a more realistic effect.
- Dirt and Grime: Use watered-down brown or black paint to create washes. Apply these washes in crevices and corners where dirt would naturally accumulate.
Remember, the key to effective weathering is subtlety and variation. Also, reference images of real weathered armor or other materials can be incredibly helpful.
In the next section, we’ll dive deeper into these techniques and how to apply them to your cosplay armor.
V. Step-by-Step Guide to Basic Weathering Techniques
Now that you have an understanding of the weathering concept and have chosen your armor material, it’s time to put that knowledge into practice. Here are some basic weathering techniques:
Sanding and Scuffing
Sanding is an effective way to simulate wear and tear. It creates a worn-out effect and can mimic the natural degradation of material over time.
Steps:
- Start by lightly sanding your entire piece with a fine-grit sandpaper to provide a surface that paint can adhere to.
- Use a coarser grit sandpaper on areas of the armor that would naturally see more wear and tear.
- Remember, sand in various directions to create a more random, natural effect.
Paint Layering
Layering paint can create depth and mimic the effect of aged, chipped paint.
Steps:
- Apply a base layer of paint. This color should represent the raw material color of your armor.
- Once your base layer is dry, apply a layer of ‘chipping medium’ or hairspray.
- Paint your top layer. This should represent the color of your armor in its most used state.
- Once dry, lightly moisten the areas you want to chip, then use a stiff brush or toothpick to gently scratch off the top layer of paint, revealing the base color underneath.
Dry Brushing
Dry brushing is a painting technique used to highlight texture. It’s great for showing off the small details and adding a weathered look.
Steps:
- Dip your brush in paint and then wipe most of it off on a paper towel.
- Lightly drag your brush over the details of your piece. The paint will catch on the raised surfaces, leaving the recesses dark.
Washes
Washes are great for imitating the build-up of dirt and grime in crevices and enhancing the detail of your piece. Be careful when washing your armor that you remove the debris without ruining what you added with the weathering.
Steps:
- Mix a small amount of black or brown acrylic paint with a lot of water. You want a very diluted paint mixture.
- Apply the wash liberally to your piece. The wash will flow into the recesses and crevices.
- Use a rag to wipe away the excess from the raised surfaces, leaving the wash in the cracks and crevices.
Remember, the key to realistic weathering is layering these techniques. You might want to repeat these steps multiple times, alternating between techniques, until you get your desired effect. Always think about your character and their environment when deciding which techniques to use and how heavy-handed you should be with each.
In the next section, we’ll go over some more advanced weathering techniques, including creating rust and oxidation effects, battle damage, and heat and burn effects.
VI. Advanced Weathering Techniques
Once you’ve mastered the basics, you can start incorporating more advanced techniques into your weathering process. Here are a few you can try:
Creating Rust Effects
Rust effects can make your armor look like it’s been through some rough weather, adding authenticity.
Steps:
- Start by applying a dark brown base coat in areas where you want rust to appear.
- Dab on patches of orange paint while the brown paint is still wet to create variation in color.
- For texture, consider using a rust effect paint or adding sand to your paint mixture.
Battle Damage
Battle damage can add a lot of character to your armor, telling a story of the battles it’s been through.
Steps:
- Use a rotary tool or a sharp object to create scratches and cuts. Remember, less is more.
- Use black and silver paint to highlight these damages. Apply black paint first to mimic depth, then dry brush silver on the edges to create the effect of exposed metal.
Heat and Burn Effects
If your character has been through fire or uses a flamethrower, heat and burn effects can add an extra layer of detail.
Steps:
- Apply a black or dark gray wash to areas you want to look burnt.
- Dry brush silver on top to mimic the look of burnt, blistered metal.
- For a heat-stained effect, like on exhaust pipes, apply thin layers of purple, blue, and yellow paint to mimic the colorful sheen.
Accumulated Dirt
To create the look of heavily ingrained dirt, consider using weathering powders.
Steps:
- Apply weathering powders with a brush into areas where dirt would accumulate.
- Seal with a spray sealant to ensure the powders stay in place.
Weathering is a journey of experimentation and practice. Don’t be afraid to make mistakes. Remember, if you go overboard with weathering, you can always paint over it and start again. Happy weathering!

VII. Protecting Your Weathered Armor
After putting so much effort into creating a realistic, weathered look, you’ll want to make sure it lasts. That’s where sealants come into play.
Types of Sealants:
- Matte sealant: This will protect your armor without adding any shine, preserving the weathered look.
- Satin or gloss sealant: These will add a bit of shine, which may be suitable if your armor is meant to look like polished, weathered metal.
Application:
Apply the sealant in thin, even coats, making sure to cover all areas of your armor. Allow it to dry fully before wearing. With your armor now sealed, it’s ready to withstand conventions, photo shoots, and any battles you might find yourself in!
VIII. Conclusion and Encouragement
And that wraps up our comprehensive guide to weathering cosplay armor! Whether you’re a beginner looking to add a bit of realism to your costume, or an experienced cosplayer aiming to take your armor to the next level, these techniques will give your pieces character and depth that can’t be achieved with just a basic paint job.
Remember, practice makes perfect. Start with some scrap material and try out different methods. It’s all part of the process and every step you take brings you closer to mastering the art of weathering.
We look forward to seeing your incredible, weathered armor at the next convention. So don your armor, step into character, and make some epic memories!


