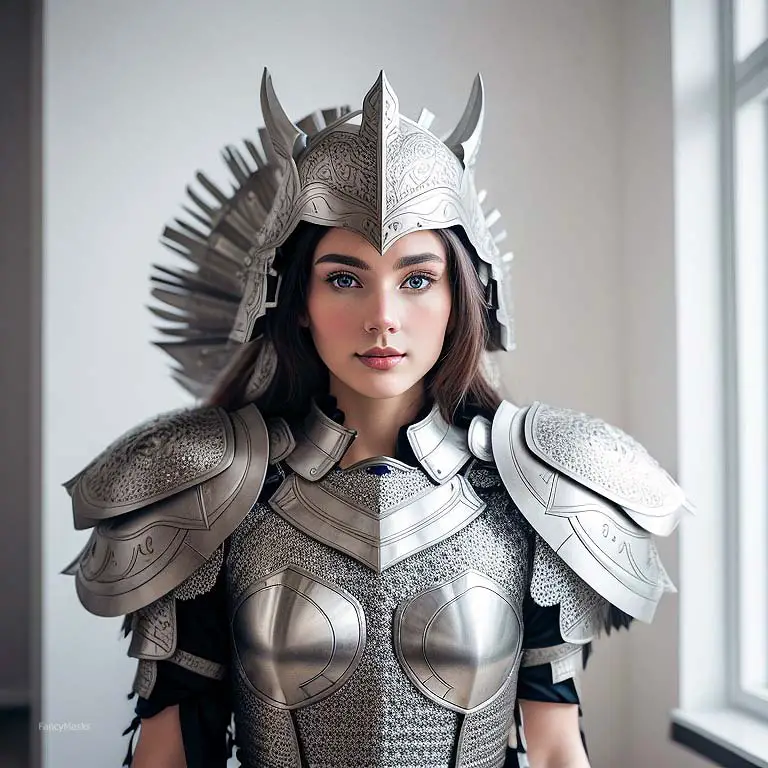
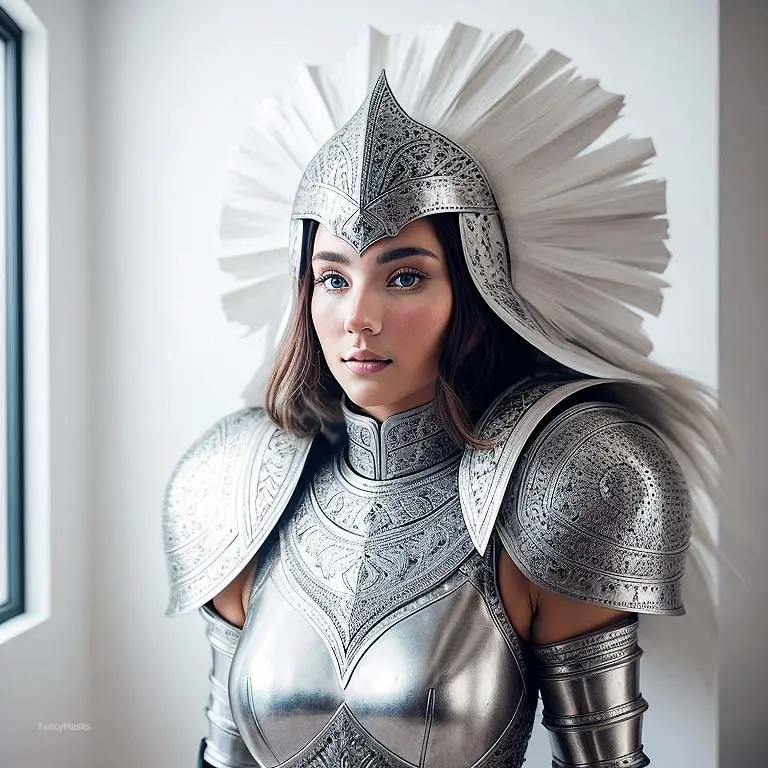
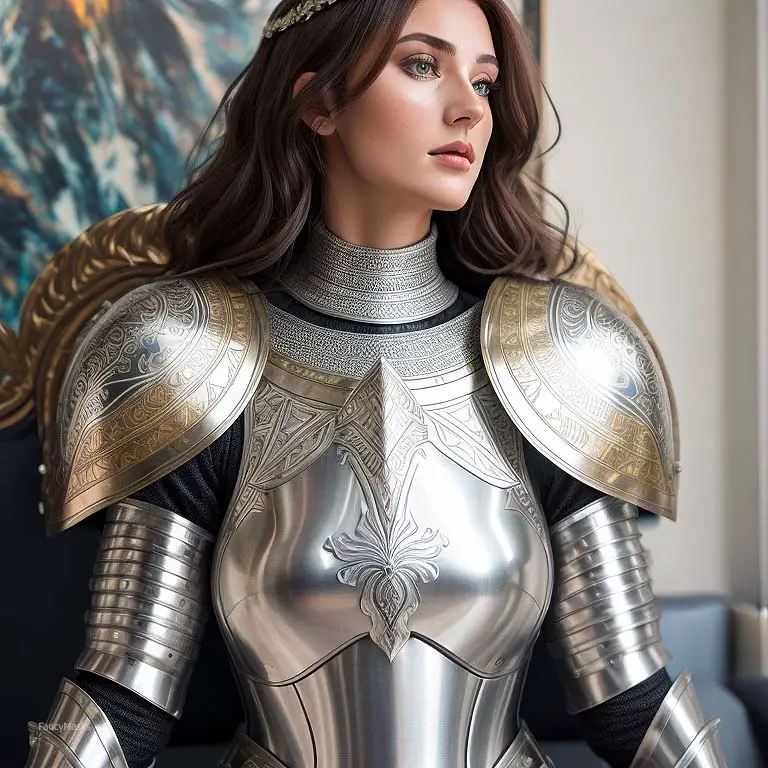
Diving into the world of DIY Cosplay can be as exhilarating as it is challenging, especially when you’re looking to recreate your favorite characters’ iconic armor. But fear not! Crafting cosplay armor doesn’t have to be a daunting task.
With a bit of patience, creativity and some regular household items, you can create something truly impressive. Today we’re going to teach you how to create cosplay armor from cardboard and take an exciting journey into the realm of cardboard-armored heroes and villains.
Before we begin this adventure, it’s important that you select the character whose armor you’d like to create. The cosplay character selection is key because it will guide every decision that follows – from the design and detailing, right down to the painting and finishing touches.
The first steps on this path involve Armor Design Visualization and Cardboard Sourcing. These may seem like very different tasks but they are inextricably linked.
You need to understand both your design requirements (shape, size, detail) and material constraints (the type of cardboard at your disposal) from the start so that they can inform each other. You could use an existing Cardboard Armor Template or create one yourself based on your chosen character’s armor design.
Now, I know what some of you might be thinking: “Cardboard? Really?” Yes indeed! While cardboard might not initially strike you as material worthy of epic battle attire, I assure you that with correct reinforcement techniques and creative approach towards texture enhancement it becomes an excellent choice for DIY armor crafting hobbyist.
Using Cardboard Craft Techniques paired with Texture Techniques for Cardboard will allow us to give our cosplay armor detailing – providing depth and a more realistic look – which will make our creation stand out from others. When done right these methods can transform simple cardboards into impressive replicas of even the most intricate armors.
And then my friends comes another crucial part: Joining Armor Pieces together once they are ready so we could see how our masterpiece looks when worn on body!
But remember one thing while working through project: every piece we create needs proper reinforcement methods applied to ensure its longevity. Reinforcing Cardboard Structures especially is vital in maintaining their shape under continuous wear-and-tear during cosplay events.
One last tip is to always remember to use sealants for durability, They are our best friends when crafting cosplay armor from cardboard or any other material for that matter! They provide protection against moisture while giving our creation a laudable sheen!
So there goes; let’s get started with creating something wonderful out this mundane material using these tips & tricks I shared above! Keep in mind; wherever there are challenges there also lies fun & learning – So dive deep into world of cosplay creation & let inspiration guide your path!
Essential Materials and Tools for Cardboard Cosplay Armor
For creating cosplay armor from cardboard, there are a few necessities that you simply can’t do without. Of course, at the top of your list will be cardboard.
Sourcing good quality cardboard is essential – it’s the very foundation of your masterpiece. You’ll want sturdy pieces that hold their shape but are flexible enough for crafting intricate designs.
Your best bet is corrugated boxes; they’re strong, easily accessible, and quite affordable. We keep all our Amazon shipping boxes. There are logos on the outside so we just use the inside which is a flat brown color. Next up on our DIY cosplay checklist is a sharp cutting tool.
An X-Acto knife or a utility blade works best for this purpose as it allows for more controlled cuts and better detailing in your armor design visualization process. A pair of scissors can also come in handy for less precise cutting tasks like trimming excess material or cutting out larger shapes from your cardboard armor template.
Now let’s talk about the unsung heroes in our Cosplay armor detailing journey – pencil and ruler (or tape measure). These tools will be needed to sketch out your designs onto the cardboard before you start cutting it down to size.
They’re also indispensable when making measurements for fitting and adjustment purposes to ensure that once done, your costume fits like a glove. Moving on to adhesives – no matter how meticulous you are with your Cardboard Craft Techniques, joining Armor pieces together impeccably requires more than just skill; it calls for reliable adhesives too!

A good-quality glue gun with plenty of adhesive sticks should be part of every cosplayer’s tool kit because nothing beats its sturdiness when securing attachments on cosplay armor. An often overlooked but fundamental aspect when crafting Cosplay armor is texture techniques for Cardboard which often involve using sealants or primers to smooth out rough surfaces while simultaneously reinforcing cardboard structures.
Use them wisely and behold as they work wonders by adding durability while making subsequent paint jobs look incredibly realistic! Speaking about painting – time now to stock up on some acrylic paints!
Having an assortment of colors allows you room for creativity in bringing life into your new DIY Cosplay Armor creation! If you’re replicating an existing character’s outfit, study their color scheme carefully before diving into Cosplay Armor Painting.
Of course, all these projects need inspiration sources! Be it anime shows, comic books or video games – whatever floats your boat should serve as excellent Cosplay inspiration fueling both character selection process and creativity behind each project.
But importantly: don’t forget patience! Crafting costumes from scratch takes time—each step carefully planned out—from designing based off reference images right down to adding finishing touches like painting details onto created pieces—but end results always make all efforts worthwhile!
The Design and Planning Phase
One of the most crucial elements to consider is your character selection. This decision directly influences your crafting process, especially when it comes to armor design and visualization.
You see, each character has unique outfit attributes that need to be captured meticulously for an authentic representation. It’s a good idea to gather several images, sketches or even 3D renderings from various angles of your chosen character.
Creating a detailed cardboard armor template from these visuals guarantees you’ll have all necessary components accounted for. A vital part of this stage is also making sure the armor fits just right.
Striking that balance between an accurate representation and personal comfort can be challenging but is absolutely essential in the world of cosplay. Armor fitting and adjustment come into play here – ensuring that while the armor looks magnificent, it doesn’t hinder your movements or comfort during those long hours at a convention or photo shoot.
Now let’s talk about sourcing materials! Cardboard might seem like a humble choice but it’s reliable, cost-effective, and surprisingly versatile in crafting cosplay armor. I also like making a cardboard mockup before using EVA foam or Worbla in case I make mistakes.
Different types of cardboard can offer varying levels of sturdiness and flexibility – corrugated boxes provide great strength while cereal boxes or poster board lend themselves well to detailing pieces because they’re easier to cut and shape. Throughout this planning phase, remember that patience will be your greatest ally along with inspiration drawn from other cosplayers’ works or tutorials available online — sources which can provide valuable tips on everything from texture techniques for cardboard to secure attachment of cosplay armor pieces.
Additionally, start thinking about sealants for durability at this early stage; they help protect against wear and tear as well as prepare the surface for painting later on in the process. A well-planned piece ensures not only an easier time during construction but also results in final product that is visually striking yet practical for use.
Cardboard Preparation
Before we dive into constructing our armor, let’s take some time to source and prepare our primary material – cardboard. Now, you may be thinking, “Cardboard? Really?” But trust me when I say it is one of the most versatile materials for DIY cosplay armor.
You’d be amazed by what can be achieved with a little bit of creativity and technical know-how! First things first, you’ll need to consider where your cardboard is coming from.
Cardboard sourcing is not as straightforward as it may seem. You want clean, sturdy boxes without any dents or creases that could compromise the integrity of your armor pieces.
Also, try to find larger pieces – they will give you more freedom during the Armor Design Visualization stage. Prepping your cardboard is also an incredibly important step in crafting cosplay armor.
To start with, you’ll want to remove any tape or labels from your cardboard – these won’t play nicely with glues or paint later on! Then, carefully flatten out the boxes along their seams using a ruler or straight edge for precision.
Now that we have our raw material ready to go, let’s move onto Armor Design Visualization! This part can be super fun – especially if you’ve decided on a specific character for Cosplay Character Selection already and have plenty of Cosplay Inspiration images saved up!
Start sketching out your ideas directly onto the cardboard sheets – don’t worry about perfection at this stage; rough sketches are just fine! Next up in this Cardboard Craft Techniques guide: Creating a Cardboard Armor Template.
To ensure Secure Attachment of Cosplay Armor pieces later on and facilitate Armor Fitting and Adjustment during wear, it’s crucial that each piece is cut out accurately following your sketches. The last prep step involves Texture Techniques for Cardboard before moving into painting.
Achieving an authentic look relies heavily on how well your material mimics actual metal armor (or whatever substance it’s meant to imitate). Sealants for Durability come in handy here – not only do they offer protection but can also provide interesting textures when applied correctly.
Once all these steps are completed correctly, we’re ready for Crafting Cosplay Armor properly! So stay tuned – Reinforcing Cardboard Structures and Joining Armor Pieces effectively are up next in this DIY Cosplay guide!
Crafting the Base Structure
Once you’ve brought your cardboard into play and had it prepared, it’s time to dive into the most exciting phase – crafting the base structure of your armor. This stage is all about embracing those Cardboard Craft Techniques you’ve been dying to experiment with.
Start off by cutting out sections of your Cardboard Armor Template. Remember, accuracy in shaping these pieces will be instrumental in achieving that perfect fit.
Now that our fragments are cut and ready, we’ll be reinforcing cardboard structures through strategic folds or by gluing multiple sheets together for a sturdier form. This DIY Cosplay trick can make a world of a difference in making your armor durable and robust while maintaining flexibility.
Try to anticipate areas that would require more reinforcement than others, like corners or joints – this will provide Secure Attachment of Cosplay Armor components later on. The next step is to gradually start Joining Armor Pieces together using strong glue and allowing ample time for each section to dry thoroughly.
In this phase, keep in mind the importance of Armor Fitting and Adjustment for comfort during wear as well as maintaining the aesthetics of your chosen design. Your Cosplay Character Selection should sit comfortably on you without any discomfort or hindrance in movements.
Your base structure is taking form now! But before we move on to adding those stunning details that breathe life into this cardboard exoskeleton, let’s talk about Texture Techniques for Cardboard.
Adding texture can significantly enhance the overall look, offering an authentic feel rather than raw cardboard appearance. Cosplay Inspiration can come from anywhere – maybe it’s adding rivets by simply using hot glue dots along edges or experimenting with scoring techniques for a more battle-worn look; the possibilities are endless!
Just remember, give yourself permission to be creative and take risks; after all Crafting Cosplay Armor isn’t just about looking fantastic at conventions but also about enjoying the artistic journey getting there. Your armor won’t come alive without some cosplay armor detailing — intricate touches that make your character unique — so spend some time on them!
A little extra effort here can truly elevate your creation from ordinary to extraordinary! And once all additional detailing has been attached securely with glue (you might need pins or clamps for support while drying!), we’re ready for sealing everything up using Sealants for Durability before moving on to painting.
Sealing is vital not only because it helps protect against damage but also because it prepares our surface for Cosplay Armor Painting providing a better canvas making colors pop out vividly against our textured background created earlier. Make sure you use quality sealants designed specifically for crafting purposes – they’ll ensure longevity along with enhancing aesthetic appeal even further!
Remember: patience at each step is key here; rushing might lead to avoidable mistakes which could compromise our beautiful piece made with heaps of love & creativity! : sourcing good quality Cardboard Sourcing should never be undermined since it forms the basis upon which all else functions; designing & visualizing beforehand always eases out execution thus ensuring smooth Armor Design Visualization; & finally enjoying every little part of this creative journey adds up greatly enriching not just end product but also fostering immense personal satisfaction throughout process – making every moment worthwhile!
Adding Dimension and Detail
Once your base structure for your DIY cosplay armor is in place, you’ve entered into one of the most fascinating phases of crafting cosplay armor: adding dimension and detail. These elements are what set apart a flat, uninteresting piece from a visually engaging spectacle worthy of any comic-con stage.
It’s all about taking that two-dimensional cardboard cutout and turning it into a three-dimensional masterpiece. Firstly, it’s crucial to work off an armor design visualization during this step.
Making an accurate replica requires careful attention to the details present in your character’s original design. You must consider features such as lines, curves, patterns, and textures that will give your cosplay armor its personality and flavor.
This might involve cutting additional pieces from cardboard to add depth or using various cardboard craft techniques like scoring or folding to shape the material according to your needs. Texture techniques for cardboard are especially invaluable at this stage; they bring a degree of realism and authenticity that flat surfaces just can’t replicate.
You can create worn-out looks by softly hitting with a hammer or rough textures by applying glue mixed with sand before painting. For intricate designs like symbols or emblems, sketch them onto thin cardboard pieces first; then cut them out and attach them securely onto the armor using adhesive.
After putting so much effort into crafting each detail on the cardboard armor template, you wouldn’t want it falling apart during a convention! Reinforcing these delicate details is as vital as gluing the larger pieces together in step 5 – reinforcement and joining techniques come into play here too.
Often overlooked but extremely important are fittings and adjustments for secure attachment of cosplay armor. This ensures not only longevity but also comfort when wearing it around at conventions.
It’s always worth remembering where we began, looking at cosplay inspiration images showcasing our chosen character’s iconic outfit in stunning detail – imagining how we could translate those intricate designs onto our own costume creation using humble cardboard sourced from everyday items lying around our homes. – sealants for durability can be applied over these added details after painting (which will cover later) to protect them against wear tear ensuring that your costume remains intact even amidst the hustle-bustle of Cosplay events!
So keep your eyes on the prize! Know that every stroke of texture technique on each tiny piece contributes significantly towards embodying your Cosplay character selection in its truest form.
Reinforcement and Joining Techniques
As you dive deeper into DIY cosplay, you’ll find that crafting cosplay armor from cardboard is a fun and rewarding process. But let’s not get ahead of ourselves; one of the most essential steps in this creative expedition is comprehending the art of reinforcement and joining techniques. Now, sourcing your cardboard is not as mundane as it seems.
You’re not merely collecting dull, brown boxes; rather, think of it as assembling your armory. The kind of cardboard you choose could make or break your cosplay armor project.
Thicker varieties will offer more rigidity and durability but might be tougher to work with when crafting intricate details. Conversely, thinner kinds are more malleable for those delicate touches but may require supplemental layers for needed toughness.
Once you’ve selected your materials, it’s important to start with a good plan. Armor design visualization is key here.
This can mean browsing the web for cosplay inspiration or sketching out concepts based on your chosen character right from scratch. Next comes creating a cardboard armor template, which serves as a blueprint for each piece of armor you’ll be crafting.
While crafting your cosplay armor pieces using various cardboard craft techniques like cutting, folding and scoring – you start to realize that even though it’s reliable material by nature, extra stability wouldn’t go amiss. Reinforcing cardboard structures indeed enhances their longevity and formidability especially when donned frequently at conventions or photo shoots.
This brings us to another crucial aspect: the fitting and adjustment of your armor pieces. Creating an illusion of metal isn’t enough; these creations should also sit comfortably on the body without restricting movement too much or causing discomfort over time.
To achieve this harmonious balance between aesthetic appeal and functional comfort secure attachment of Cosplay Armor becomes pivotal! It can be achieved through several methods such as hot glue guns for small adherences or straps & buckles for larger assemblies depending on size & placement of each piece in context to others within ensemble.
The final step is adding life to our otherwise dull yet sturdy creation via painting & detailing followed by sealing it off with an appropriate sealant for durability – making sure our hard work does not succumb to humidity or accidental spills! Techniques like dry-brush painting or sponge dabbing can add depth & realism while working wonders in concealing those unseemly lines where we joined our armor pieces together earlier.
: Crafting Cosplay Armor may seem daunting at first – but fear not! With just a bit practice & perseverance combined with above shared tips – You too can create astonishing DIY Cosplay Armor right from comfort zone that reflects both – Your creativity along with adoration towards chosen character!
Finishing Touches for a Realistic Look
Cosplay armor detailing is one of the final yet most essential steps in creating a realistic look. You’ve done some fantastic work crafting your cosplay armor, but now it’s time to turn that base structure into something truly wondrous. One effective technique is to use a thin layer of paper mache on top of your cardboard base.
This method works exceptionally well as it smooths out the surface and provides an ideal medium for adding texture. Clear any doubts related to sourcing cardboard since this process can even mask imperfections from your recycled materials, turning them into an exciting part of the design.
Creating details can be as simple or complex as you wish, based on your cosplay inspiration and character selection. You could use a fine paintbrush to draw abstract designs or create emblems and logos from spare pieces of cardboard which you can attach securely afterwards.
It’s fantastic how with just a little extra effort, you can create armor that seems like it’s been forged in fires rather than crafted from humble cardboard. Texture techniques for cardboard are also quite easy to master but have an immense impact on the final result.
One method involves crumpling tin foil then smoothing it out and pressing it onto wet paint—this gives a hammered metal effect which is perfect for ancient warrior or knight-themed cosplays. Armor fitting and adjustments are equally as crucial as painting and detailing in creating realistic-looking cosplay armors made of cardboard.
Not only does it need to look good, but it also has to fit right for comfort during wear – especially when you’re going to be parading around at a convention all day! So make sure that every piece joins correctly with each other piece not just visually, but ergonomically too.
Next comes painting your costume; this brings life and personality into your DIY Cosplay Armor project. It’s important not just choosing the right colors according to character selection but also applying them correctly for added depth and dimensionality.
Start with base colors then proceed with shading or adding highlights where appropriate using acrylics or spray paints. Sealants play another vital role in both enhancing the looks of your armor while ensuring durability throughout its usage period.
Once everything has dried completely, apply one or two coats of clear varnish or sealant which will protect against moisture damage while giving each piece that pro-level shine we all adore! In essence, crafting cosplay armor from cardboard requires careful planning through armor design visualization right down till its execution using various DIY techniques such as reinforcing cardboard structures and secure attachment of each piece together while keeping user comfort at the forefront.
Painting and Sealing the Armor
After crafting your cosplay armor, an equally significant part of the process is painting and sealing it. You’ve put a lot of effort into designing, cutting, joining armor pieces and detailing so far.
Now it’s time to bring your creation to life with colors that align with your Cosplay Character Selection. The first step is choosing the right paint.
This can be an acrylic or spray paint depending on the effect you’re looking for in your Cosplay Armor Painting. Spray paints can provide a smoother finish but may require a more ventilated workspace and care to avoid over-spraying.
On the other hand, acrylic paints allow for more control and are ideal for adding intricate details or gradients. Before applying any color, you might want to use a primer first.
A primer can help make the color stand out better against the cardboard surface while also providing additional durability. Remember to give adequate drying time between each coat of paint; patience here will yield a smoother finish overall.
When it’s time to apply color, start with base coats before moving onto Armor Detailing if need be. For some designs, one solid color may suffice but others might require varying shades or even patterns representing wear and tear or battle damage as per your Armor Design Visualization.
While painting does rely heavily on personal creativity and style preference, there are some tried-and-true Texture Techniques for Cardboard you may want to consider; dry brushing is one such technique that can create visual depth by highlighting raised areas of texture on your armor piece. Once you’re satisfied with how your piece looks after painting, it’s important not just for aesthetics but also functionally – as in Armor Fitting and Adjustment -to move onto sealing the armor.
Sealing involves applying a clear coat or sealant over the painted surfaces. The role of this sealant is twofold – protecting the paint from chipping off due to friction between joining armor pieces, as well as making it resistant against weather damages like rain during outdoor cosplay events- talk about Sealants for Durability!
There are several options available when choosing a sealant; gloss varnish offers a shiny finish which could work well for metallic-looking parts while matte varieties offer subtler finishes suitable for elements like leather straps or cloth parts in DIY Cosplay armors. Crafting Cosplay Armor from cardboard sourced through Cardboard Sourcing demands patience and precision – from creating cardboard craft techniques utilized in shaping each piece to reinforcing cardboard structures so that they hold their form well during rigorous cosplay activities like Secure Attachment of Cosplay Armor allows – but seeing that finished product come together makes every moment spent worthwhile!
Finalizing the Cosplay Armor
With the painting and detailing done, we’re now ready to get into the final stretch of crafting cosplay armor – the assembly and fitting process. This can be an interesting part of DIY cosplay, as it’s where all your hard work starts to come together into a tangible character ensemble.
The secure attachment of cosplay armor is vital for an enjoyable cosplay experience. You don’t want your armor falling off in the middle of a convention floor or during a photoshoot!
It’s important to have sturdy yet comfortable straps or other types of fixtures. Velcro, elastic bands, and buckles are commonly used to secure armor pieces onto your body.
The positioning should be such that it doesn’t inhibit movement but also ensures that each piece will stay put throughout the day. Remember that fit and comfortability are just as crucial as aesthetics.
Spend some time adjusting and tweaking where necessary until you find the perfect balance between form and function. Armor fitting and adjustments may require you to add padding on the insides for a snug fit or trim down some parts if they’re too large.
Always try out wearing your complete attire at home before going out in public with it. Now comes perhaps one of my favorite parts: adding those finishing touches that really bring out the character in your cardboard craft techniques masterpiece!
In this part, think about how you can use embellishments like faux jewels, ribbons, or even LED lights for added pizzazz depending on which character you’re embodying with your cosplay armor. Texture techniques for cardboard can also play an important role here – from using sandpaper to create a rough, ancient look, to applying thin layers of glue over certain areas then painting over them for an embossed effect – there’s so much room for creativity!
Comes sealants for durability because after all this laborious work we want our handcrafted masterpiece last! A sealed finish not only gives your armor added durability but also provides luster making it appear less like cardboard more like metal or leather depending on what you’re aiming at.
So there you have it: from Cardboard Sourcing all through Armor Design Visualization, Crafting Cosplay Armor right up till Finalizing Cosplay Armor; hope I managed to provide substantial ‘Cosplay Inspiration’. Remember above all else – enjoy every step along the journey; after all this is about bringing joy through celebration of our favorite characters.
Conclusion
The creative journey of crafting your own cardboard cosplay armor is indeed a fulfilling one. You’ve sourced your cardboard, chosen your character, visualized the armor design, and crafted it from scratch using various techniques.
The real fun began when you commenced with the DIY Cosplay. You started by preparing the Cardboard Armor Template and then moved on to meticulously crafting each armor piece.
As you progressed in your work, you discovered how texture techniques for cardboard could drastically improve the appearance of your project. It’s amazing how simple materials like hot glue and tissue paper can mimic intricate details on metal or leather armors.
Crafting Cosplay Armor also involved overcoming challenges like joining armor pieces together in a secure way while maintaining flexibility for movement. Your armor started to take form as you added layers of detailing – scoring lines, cutting out patterns, adding faux rivets or bolts.
This brought a new level of realism to your cosplay character selection. Reinforcing cardboard structures was another key aspect; after all, durability is vital if you’re going to be wearing this masterpiece at conventions or photoshoots.
Armor fitting and adjustment were necessary steps too because comfort isn’t something we should compromise on even in pursuit of spectacular authenticity. The final step was painting and sealing the armor which truly brought it to life by highlighting all those painstakingly created details.
Beyond just creating an incredible piece of wearable artistry, this DIY project has likely taught you valuable lessons about patience, precision and problem-solving that can be applied beyond crafting realms as well. So now that we have come full circle – from sourcing our materials to applying finishing touches – there’s bound to be a sense surge of accomplishment and pride looking at your very own handmade cosplay armor standing tall before you.
And what could possibly be more exciting than being able to show off this labor of love at an upcoming cosplay event? This entire process wasn’t just about making an Armor but more so about embracing creativity while having fun along the way!
May this guide serve not only as instructions but also as inspiration for those venturing into the realm of DIY cosplay. Remember – every expert was once a beginner who did not give up!
So don’t hold back – dive in headfirst into this world where cardboard transforms into glorious armors under talented hands like yours! Happy Cosplaying!