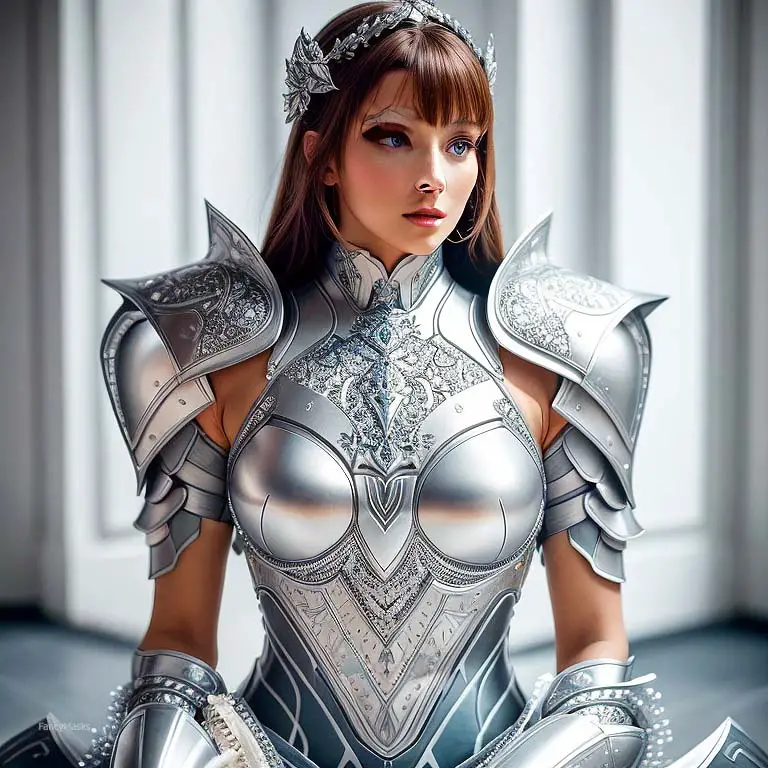
When it comes to crafting your own cosplay armor, adding layers can bring depth and realism to your costume. Layering techniques in cosplay armor allow you to create a visually striking and intricate design that captures the spirit of the character you’re portraying. Whether you’re a seasoned cosplayer or just starting out, understanding how to craft layered cosplay armor is an essential skill that will take your creations to the next level.
Before diving into the world of layered cosplay armor, it’s important to gather all the necessary tools and materials for your project. Armor sanding and priming are crucial steps in preparing your base layer for additional layers.
Sandpaper, primer, and protective equipment like gloves and goggles should be at hand. Additionally, having a well-ventilated workspace will ensure that you have a safe environment for working on your armor.
The selection of base armor is another key consideration in creating layered cosplay armor. Base armor acts as the foundation upon which additional layers are built.
When choosing base armor, opt for materials that are lightweight yet sturdy enough for extended wear. Common materials include EVA foam, thermoplastics like Worbla or Wonderflex, or even craft foam reinforced with resin or fiberglass. If these are out of your budget, we’ve written a full guide to creating cosplay armor with household items.

Once you have gathered all necessary tools and chosen suitable base armor materials, it’s time to start crafting! Begin by cutting out the desired shapes for your first layer using sharp scissors or a craft knife.
This initial layer will serve as both a guide and support structure for future layers. Take this opportunity to experiment with different shapes and placements to achieve the desired aesthetic.
Essential Materials and Tools for Layered Cosplay Armor
When creating cosplay armor, it is important to gather all the materials and tools you will need. The right selection of materials will help bring your armor to life, while having the necessary tools will make the crafting process smoother and more enjoyable. Let’s start with the materials.
A heat gun is a must-have item for working with thermoplastics like Worbla or Sintra; it allows you to mold and shape these materials to fit your body precisely. A heat gun also comes in handy for creating intricate designs or adding texture to your armor.
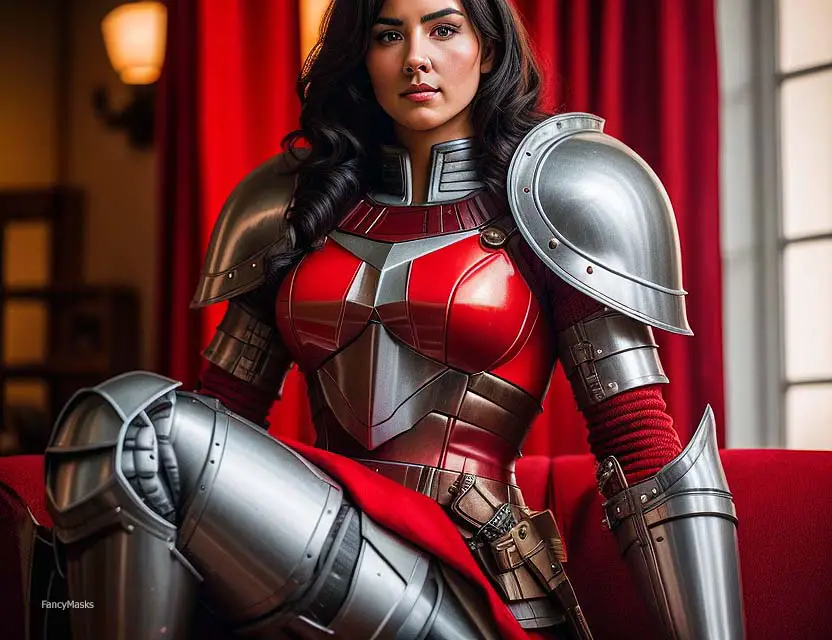
Other essential tools include a utility knife or X-Acto knife for precise cuts, a cutting mat to protect your work surface, sandpaper for smoothing rough edges or adding weathering effects, various paint brushes for detailing or painting techniques (such as dry brushing), and adhesive options like contact cement or hot glue guns. Don’t forget safety equipment!
Protecting yourself while crafting is important too; consider wearing safety goggles when using power tools or working with certain materials that may produce harmful particles when sanded or cut. Additionally, having sufficient ventilation in your workspace can help dissipate fumes from adhesives and paints. We also recommend wearing gloves when working creating any cosplay piece.
With these essential materials and tools at hand, you’re well-equipped to embark on your layered cosplay armor project. Remember that creativity knows no bounds – feel free to experiment with different layering techniques and explore various attachment methods to take your cosplay armor creation to new heights.
Selection Criteria for Base Armor
When it comes to creating layered cosplay armor, selecting the right base armor is crucial. The base armor serves as the foundation upon which you will build your layers, so it’s important to choose a piece that suits your cosplay character and overall design aesthetic. There are several factors to consider when selecting your base armor.
You’ll want to ensure that the base armor is made from durable materials. Cosplay conventions can be crowded spaces, and you don’t want your hard work crumbling or falling apart after just a few steps.
Look for materials such as EVA foam or thermoplastic that can withstand the wear and tear of an eventful day. Additionally, consider how well the base armor aligns with the design of your character.

Does it have the right shape and structure? Is it similar in color or texture?
It’s important for your layered armor to seamlessly blend with the base, creating a cohesive look. If necessary, you can make modifications to the base armor by sanding or adding texture to match your vision.
Another factor to keep in mind is the weight of the base armor. While layering adds depth and dimension to your cosplay, it also adds additional weight that you’ll need to carry throughout the day.
Opt for a lightweight but sturdy material that won’t weigh you down during long hours of walking and posing for photos. By considering these selection criteria for your base armor – durability, design compatibility, and weight – you’ll be well on your way to creating a solid foundation for layering techniques in cosplay armor construction.
Remember, choosing the right base sets the stage for all subsequent steps in crafting layered cosplay armor! Selecting a suitable base armor is paramount when embarking on creating layered cosplay attire.
Your chosen material should possess durability so as not to crumble under pressure during convention chaos; think EVA foam or thermoplastic as viable options here! Aesthetics matter too; it is essential that the design and structure of your base armor align with your character’s portrayal.
If necessary, take the time to modify the base by sanding or adding texture to ensure it matches your vision perfectly. Don’t forget to consider the weight of your armor.
While layers add depth and dimension, too much weight can make mobility a challenge throughout a long day of cosplay adventures. Choose a lightweight yet sturdy material that allows you to comfortably strut your stuff without feeling burdened.
With these considerations in mind, you will be able to select a base armor piece that serves as an ideal canvas for layering techniques, enabling you to unleash the full potential of your cosplay creation! So go forth and conquer those conventions with confidence and style – armed with a well-chosen base armor piece for layering excellence.
Preparations for the Base Armor
When it comes to creating layered cosplay armor, careful preparation is key to achieving a stunning finished product. Before diving into the actual construction process, there are a few essential steps to take in order to ensure that your base armor is ready for the layering process.
You need to select the appropriate base armor for your cosplay project. Consider the character you are portraying and the specific design elements you want to incorporate.
Some factors to consider include the material of the base armor, its shape and size, and how well it aligns with your overall vision. It’s crucial to choose a base armor piece that will serve as a solid foundation for adding layers.
Once you have selected your base armor, it’s time to prepare it for layering. Depending on the material you’re working with, this step may involve different techniques.
For example, if your base armor is made of foam or EVA foam, you will want to sand down any rough edges or imperfections using sandpaper or a sanding block. This ensures that the surface is smooth and ready for additional layers.
If your base armor is made of thermoplastic materials like Worbla or Wonderflex, priming becomes an important step in preparation. Apply a thin coat of primer over the surface of your base armor using a brush or spray can.
Primer helps create an even texture on which subsequent layers can adhere more easily. Additionally, before proceeding with layering techniques such as attaching additional pieces or incorporating embellishments onto your base armor, consider any weathering effects you may want to achieve.
Weathering adds depth and realism to your cosplay by simulating wear-and-tear or battle damage on the surface of the armor. Plan where you want these effects and how they will interact with each layer before moving forward.
By carefully considering factors such as selecting suitable materials for crafting additional layers and properly preparing your chosen base armor through techniques like sanding and priming, you are setting yourself up for a successful layering process. These preparatory steps will help ensure that the subsequent layers adhere effectively and that your final cosplay armor piece is truly remarkable in both appearance and durability.
Crafting the First Layer of the Armor
Crafting the first layer of your cosplay armor is an essential step in creating a stunning and realistic piece. This initial layer serves as the foundation upon which you will build subsequent layers, adding depth and dimension to your armor.
Before diving into the crafting process, it’s important to consider factors such as base armor selection, materials, and tools. When selecting the base armor for your cosplay project, keep in mind the character you are portraying and the desired aesthetic.
Whether you opt for a pre-made base or decide to create one from scratch using foam or thermoplastics like Worbla, choose a material that suits your needs in terms of durability, flexibility, and weight. Once you have chosen your base armor material, it’s time to prepare it for crafting.
Start by sanding any rough edges or imperfections on the surface. Sanding not only ensures a smooth finish but also helps the subsequent layers adhere better to the base.
Afterward, apply a primer suited for your chosen materials to provide an even surface for painting later on. Now comes the exciting part – adding texture and detailing to your first layer of armor.
Depending on your character’s design and personal preference, you can use various techniques such as heat shaping, carving intricate patterns, or applying raised details with additional materials like EVA foam or sculpting clay. Remember that attention to detail is key here; weathering effects on armor can be achieved by lightly sanding certain areas or applying paint washes for a worn-in appearance.
As you near completion of this first layer of your cosplay armor project, make sure to make any necessary final adjustments before moving on to subsequent layers. This could involve fine-tuning shapes or smoothing out any remaining imperfections with sandpaper or heat guns.
Sealing your first layer with an appropriate sealant will protect all your hard work from wear and tear during conventions or photoshoots. Crafting the first layer of cosplay armor is just the beginning of an exciting journey in creating a stunning and intricately layered piece.
Remember to take your time, pay attention to detail, and most importantly, have fun throughout the process. With each layer you add, your cosplay armor will come alive, embodying the character you love while impressing fellow cosplayers and fans alike.
Building Additional Layers for the Armor
Now that you have crafted the base armor for your cosplay masterpiece, it’s time to take it to the next level by adding additional layers.
Building upon the foundation you’ve laid, these layers will enhance the depth and complexity of your armor, making it truly stand out from the crowd. When considering what kind of additional layers to add, think about the character you are cosplaying as.
Are there any unique embellishments or textures on their armor that you can replicate? Perhaps there are weathering effects on their armor that can be recreated through clever layering techniques.
This is where your creativity truly shines. To craft these additional layers, you’ll need a variety of tools and materials at your disposal.
Depending on the complexity of your design, consider investing in tools such as foam cutters, heat guns, and dremel tools. These will help you create intricate details and textures with precision.
As for materials, EVA foam and Worbla are popular choices due to their versatility and ease of use in cosplay armor crafting. One technique to effectively build additional layers is by using foam strips or sheets to create raised areas or accents on your armor.
To do this, carefully cut out strips or shapes from foam material matching the design elements you wish to add. Attach them securely using adhesive such as contact cement or hot glue gun.
You can then seal the added pieces with a coat of sealant before proceeding with painting. Adding textured elements like rivets or scales will give an extra touch of realism to your cosplay armor.
Use small beads or buttons as rivet-like details and attach them strategically on your armor with glue or small screws for added security. For scales, cut out small diamond-shaped pieces from EVA foam sheets and layer them in an overlapping pattern along curved sections of your armor.
Building additional layers for your cosplay armor takes time and attention to detail but results in a stunning and intricate final product. Consider the character’s design, weathering effects, and unique embellishments when planning these layers.
Utilize the proper tools and materials, and employ techniques such as foam strips or sheets, textured details, and careful sealing before painting to achieve a professional-looking finish. By taking these steps, you’ll elevate your cosplay armor to new heights of authenticity and craftsmanship.
Techniques for Enhancing Cosplay Armor Layers
When it comes to enhancing the layers of your cosplay armor, there are a variety of techniques you can employ to take your costume to the next level. One important aspect is armor sanding and priming. Before you begin painting or adding any additional details, it’s crucial to create a smooth surface for optimal results.
Start by using sandpaper or a sanding block to even out any rough edges or imperfections on your base armor. Once you have achieved a smooth texture, apply a coat of primer that is suitable for the material of your armor.
This will provide a solid foundation for paint adhesion and help prevent chipping or peeling. After completing the initial steps, you can move on to layering techniques in cosplay armor.
Consider using different materials such as foam, Worbla, or EVA foam sheets to build additional armor layers on top of your base structure. This not only adds depth and dimension but also allows you to create intricate designs and details that bring your character’s costume to life.
To attach these additional layers securely, use strong adhesive such as E6000 or hot glue. Texturing and detailing your armor is another effective method for enhancing its overall appearance.
By incorporating weathering effects on specific areas of the armor, you can achieve a battle-worn and realistic look. Use techniques like dry brushing with various shades of paint or applying washes that darken recessed areas to mimic dirt or grime.
Experiment with different tools like sponges, brushes, or even toothbrushes to create texture and add depth. As you near completion with your layered cosplay armor, don’t forget about sealing it properly.
Applying a sealant like Mod Podge or clear coat spray helps protect the paint job from wear and tear while also giving it a finished look. Remember to apply multiple thin coats rather than one thick coat for an even finish.
By implementing these techniques – including sanding and priming, layering, texturing and detailing, and sealing – you can transform your cosplay armor into a truly impressive piece. Take your time, be patient with the process, and don’t hesitate to experiment.
The final adjustments for cosplay armor will depend on your specific design and character interpretation, so make sure to consider the overall look you want to achieve. With the right tools for armor crafting at your disposal and a creative mindset, you’ll have a stunning masterpiece that will make heads turn at any convention or event.
Painting and Finalizing the Armor’s Appearance
Once you have crafted the layers of your cosplay armor, it’s time to bring it to life with some paint and final touches. Painting your armor is not only crucial for enhancing its appearance but also for adding depth and realism to your creation. There are various armor painting techniques you can employ, depending on the desired effect.
You can airbrush the armor for a smooth and even finish or use dry brushing to create texture and highlights. Additionally, you can experiment with weathering effects like rust or battle damage to give your armor a worn and battle-hardened look.
Before diving into painting, make sure you have all the necessary tools at hand. Brushes of different sizes will help you achieve both broad strokes and intricate detailing.
Acrylic paints are commonly used due to their versatility and quick drying time. However, if you prefer a metallic sheen on certain parts of your armor, consider using enamel paints or metallic spray paints instead.
Remember to protect your workspace by laying down newspapers or using a dedicated paint booth. To start painting, begin by priming the surface of the armor with a spray primer or brush-on primer.
This step ensures that the paint adheres better to the surface and provides a smoother finish. Once primed, apply base colors using thin layers of paint, allowing each layer to dry before adding another one.
Gradually build up colors by layering them until you achieve the desired intensity. After applying base colors, it’s time for detailing and texturing.
Utilize smaller brushes or even sponges to add depth through shading or highlighting specific areas of the armor. Remember that details can greatly enhance the overall appearance; consider attaching embellishments such as faux gems, studs, or symbols relevant to your cosplay character.
Seal your painted design by using a clear coat spray or brush-on varnish. This protects against chipping or smudging while giving your cosplay armor a polished finish that is sure to turn heads at conventions and events.
Once the final coat is dry, your armor is complete, ready to be worn proudly as a testament to your creativity and craftsmanship. Remember that painting and finalizing your cosplay armor’s appearance allows you to add an extra layer of artistry to your creation.
Don’t be afraid to experiment with different techniques, colors, and weathering effects. With attention to detail and careful execution, your cosplay armor will truly shine as a labor of love.
Final Adjustments for the Completed Armor
Now that you’ve completed the laborious process of crafting and layering your cosplay armor, it’s time for the final adjustments. This crucial step ensures that your armor not only looks fantastic but also fits comfortably and securely. Let’s delve into some essential aspects of putting those finishing touches on your completed masterpiece.
First and foremost, take a moment to evaluate the overall fit of your cosplay armor. Put it on and move around to see if there are any areas where it feels tight or restrictive.
Consider making adjustments by slightly altering the straps or adding extra padding in certain spots for a more comfortable experience during long conventions or photoshoots. Remember, you want to strike a balance between looking impressive and being able to move without hindrance.
Next, pay close attention to any loose or wobbly components on your armor. Use tools for armor crafting such as pliers, screws, or glue to secure these parts firmly in place.
You don’t want anything falling off while you’re battling hordes of cosplayers at that epic convention! Additionally, check for any rough edges that might damage your costume or injure yourself or others inadvertently.
Armor sanding and priming can come in handy here – smooth out those edges with sandpaper and apply a layer of primer if necessary. Now let’s talk about sealing your finished cosplay armor.
Sealing helps protect the paint job from chipping or rubbing off over time due to wear and tear. There are various sealants available specifically designed for cosplay purposes, such as clear coats or varnishes.
Apply a thin layer evenly across the entire surface of your armor using a brush or spray applicator, ensuring complete coverage without creating drips or clumps. Remember that these final adjustments will not only enhance the appearance of your cosplay armor but also contribute to its durability and longevity.
Take pride in meticulously fine-tuning every component before showcasing it at events where fellow cosplayers will marvel at both your attention to detail and your striking presence. With these final touches completed, you can confidently don your layered armor and immerse yourself in the world of cosplay with a charismatic panache that commands admiration.
Wearability: Adding Straps and Attachments
Now that you have crafted your layered cosplay armor, it’s time to make it wearable and secure. Adding straps and attachments not only ensures that your armor stays in place but also adds an extra dimension of authenticity to your cosplay.
Let’s delve into the world of wearability and explore some techniques for attaching straps and other accessories to your masterpiece. When it comes to adding straps, there are several options to consider.
Depending on the weight distribution of your layered armor, you may opt for wide or narrow straps made from durable materials such as nylon or leather. The key is finding a balance between functionality and aesthetics.
You want the straps to hold the armor securely in place without detracting from its overall appearance. To attach the straps, carefully select attachment points on your base armor that will provide optimal support and stability.
These can be areas where multiple layers intersect or where additional reinforcements have been added during the crafting process. Use strong adhesives, such as E6000 or hot glue, to affix the straps securely to these points.
In addition to basic strap attachments, consider incorporating other accessories that enhance both the look and functionality of your cosplay armor. This can include buckles, clasps, snaps, or even Velcro fasteners strategically placed throughout the design.
These attachments not only add visual interest but also allow for easy adjustments and removal of certain parts for convenience during costume changes or repairs. Remember that wearability is just as important as appearance when it comes to cosplay armor.
Take the time to test out different strap configurations and attachment methods before finalizing your design. Ensure that movement is not restricted, joints are flexible, and weight distribution is evenly balanced across your body.
By paying attention to wearability and adding secure yet stylish straps and attachments to your layered cosplay armor, you’ll be able to confidently strut through conventions with ease while turning heads with envy-inducing craftsmanship. So go ahead – embrace this final step in completing your armor and prepare to immerse yourself in the captivating world of cosplay!
Conclusion: Embrace the Art of Layering in Cosplay Armor
The art of layering in cosplay armor opens up a world of possibilities for creating unique and intricate designs that will make your cosplay stand out. By exploring various layering techniques, crafting additional armor layers, and selecting high-quality materials, you can create a costume that truly embodies the character you are portraying. Texturing and detailing armor is a crucial step in adding depth and realism to your cosplay.
Whether it’s using foam carving techniques to create intricate patterns or adding battle-worn weathering effects, these small details can make a significant difference in the overall appearance of your armor. When crafting additional layers for your cosplay armor, remember to consider both aesthetics and functionality.
Experiment with different materials such as EVA foam, Worbla, or thermoplastics to achieve the desired look and ensure durability. Whether you’re creating overlapping plates or intricate chainmail patterns, each layer adds complexity to your costume.
To truly bring your cosplay armor to life, painting techniques play an essential role. From base coating and shading to highlighting and weathering effects, careful attention should be given to achieving a realistic finish.
Take advantage of dry brushing or airbrushing techniques for added depth. Embracing layered armor not only enhances the appearance of your cosplay but also offers practical benefits.
The added thickness provides increased protection against accidental bumps or falls at conventions while also allowing for more flexibility when posing for photographs. So go forth into the world of cosplay with confidence!
Embrace the artistry of layering in your armor creations and let your imagination run wild. With every brushstroke painted and every detail added, you are one step closer to embodying the character you admire so much.
Remember: no design is too complex if you have the passion and dedication to pursue it. Happy cosplaying!

