Cosplay is all about becoming your favorite character, and for many, the perfect costume just isn’t complete without props. From weapons to accessories to magical artifacts, props can help bring a character to life and make a cosplay stand out. In this post, we’ll teach you how to make cosplay props.
Think about it – would a Link costume be complete without his iconic Master Sword and Hylian Shield? Would Lara Croft be as recognizable without her dual pistols?
Props not only enhance the overall look of a costume but also add an element of fun and playfulness to the cosplay experience. In addition, crafting your own props allows you to put your own unique spin on a character’s design.
You can customize colors or add intricate details that may not be found on store-bought replicas. Plus, making your own prop can be an exciting challenge that pushes you out of your comfort zone and helps you hone new skills. We’ve create a full guide to cosplay crafting if you’re looking to create other types of items.
Why Prop Making Matters in Cosplay
While costumes are certainly important in cosplay, props can take a costume from good to great. Props help bring a character to life and can add an extra layer of authenticity to a cosplay.
For example, imagine dressing up as Iron Man without a functioning arc reactor in the center of your chest or wielding Captain America’s shield made out of cardboard instead of vibranium. The props are just as important as the costume itself in creating a convincing cosplay.
Additionally, making props from scratch allows cosplayers to truly make the costume their own. It’s an opportunity to flex their creative muscles and showcase their individuality through design choices and construction techniques.
Prop making is an essential aspect of cosplay that can elevate a costume to new heights. By creating your own props, you have the freedom to customize your cosplay and make it truly one-of-a-kind.

Materials Selection
Overview of Different Materials Commonly Used in Prop Making
When it comes to prop making for cosplay, there are a variety of materials to choose from, each with its own unique properties and applications. Some of the most commonly used materials include foam, worbla, resin, and 3D printing.
EVA Foam is a versatile material that can be easily cut and shaped into a wide range of forms. It’s also relatively inexpensive and lightweight, making it a popular choice for cosplayers who are just starting out.
Worbla, on the other hand, is a thermoplastic that can be molded into complex shapes when heated up. It’s more expensive than foam but offers greater durability and detail. You can learn about worbla here.
Resin is another popular option for prop making as it can be used to create clear or opaque casts that mimic metal or glass. Though it requires more expertise to work with than foam or worbla, the results can be stunningly realistic. Checkout our guide to resin casting for cosplay.
3D printing has become increasingly popular in recent years due to its ability to create intricate designs with incredible precision. However, it requires specialized equipment and knowledge which makes it less accessible to beginners.
Pros and Cons of Each Material Type
Each material type comes with its own set of pros and cons that should be considered when selecting the best fit for your specific prop. Foam is affordable and easy to work with but may not hold up as well over time or in harsh environments.
Worbla offers greater durability but can be more costly and difficult to shape properly without practice. Resin provides stunning results but requires more time and effort while also being harmful if not handled carefully during the molding process. We have a full guide for cosplay resin casting
3D printing allows for precise designs on a level unmatched by other techniques but demands significant investment in equipment upfront as well as software skills. It’s important to weigh these factors before selecting a material to ensure that the final product not only looks great but also performs well and lasts over time.
Tips for Selecting the Best Material for Your Specific Prop
When selecting a material for your prop, consider the following:
1. Budget: Some materials are more expensive than others, so it’s important to factor in cost when selecting a material.
2. Durability: Consider how often you will use your prop and what conditions it may be exposed to. If it will see frequent use and exposure to harsh conditions, durability should be a top priority.
3. Detail: If you need high levels of detail in your prop, consider using materials like resin or 3D printing which have greater precision in shaping. 4. Skill level: Consider your own skill level when selecting a material.
If you’re just starting out in prop making, foam or worbla may be good options as they are relatively easy to learn compared to resin or 3D printing. By considering these factors and experimenting with different materials, you can find the perfect fit for your prop that is both realistic and functional while staying within your means!

Construction Techniques
The Basic Tools You Need for Prop Making
Before getting started with prop making, you need to make sure you have the right tools. Some of the essential tools include a hot glue gun, heat gun, X-Acto knife, scissors, ruler, and cutting mat. You will also need sandpaper or a sanding block to smooth out rough edges.
A heat gun is used to shape certain materials like Worbla or thermoplastic sheets by heating them up until they become malleable. A hot glue gun is used to attach different parts of your prop together quickly and efficiently.
If you want to create more complex props that involve cutting out intricate shapes, an X-Acto knife can be helpful. Scissors are also necessary for cutting larger pieces of material like foam.
Step-by-step Instructions on How To Construct a Basic Prop
Creating a basic prop such as a sword or gun requires simple steps that anyone can follow. First, draw the design of your prop on paper and then transfer it onto foam or other materials using tracing paper.
Next, use an X-Acto knife or scissors to cut out your design from your chosen material. Once all pieces are cut out and ready, use the hot glue gun to assemble them together securely.
After the pieces are glued together, use sandpaper or a sanding block to smooth out any rough spots on your prop. Paint your prop in colors appropriate for its purpose!
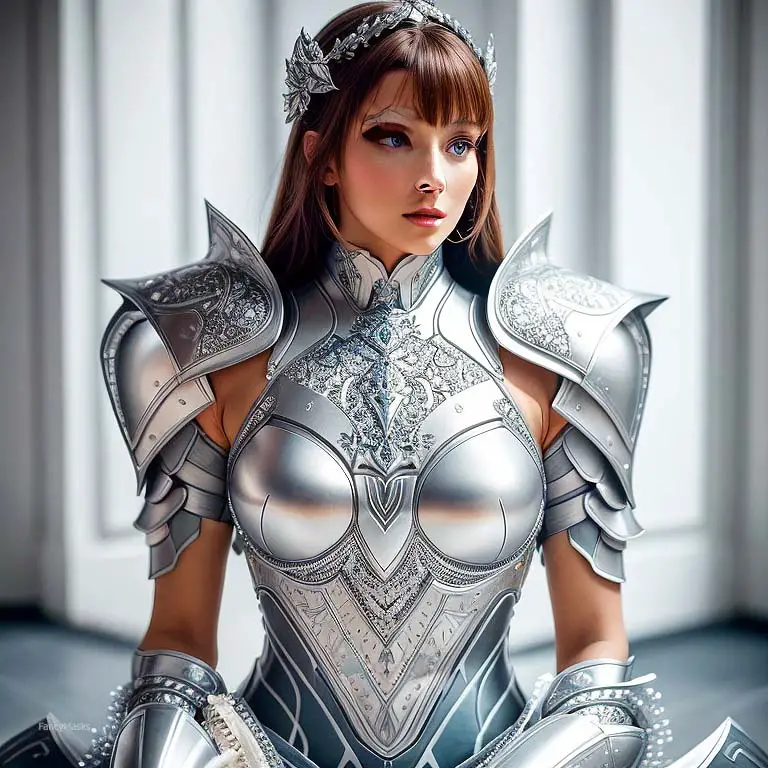
Tips for Creating More Complex Props (Armor & Wings)
Creating more complex props such as armor pieces and wings requires more time and effort but it’s definitely worth it! For example when creating armor pieces more advanced techniques come into play such as using moldable thermoplastics like Worbla which can be heated up with a heat gun until it becomes flexible enough to mold into armor shapes.
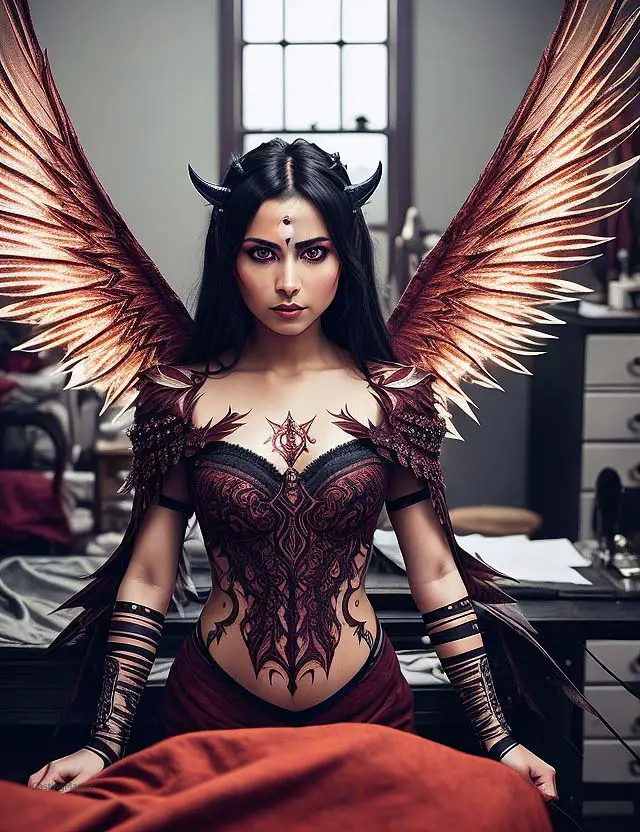
When creating wings, it’s important to have a wireframe ready beforehand. The wireframe should be secured in place with heat-shrink tubing at all points where the wings will attach to your body.
After the wireframe is completed, add feathers or other desired materials using hot glue or other adhesive. Whether you’re creating a simple prop like a sword or gun or a more elaborate one such as armor pieces and wings, always make sure you have the necessary tools and supplies before starting your project!
Painting and Finishing Touches
Overview of Painting Techniques
Now that you have constructed your prop, it is time to bring it to life with some color! The most common painting techniques for props are spray paint and hand-painting. We’ve create a guide to cosplay painting.
Spray paint is great for covering large surface areas quickly and efficiently, while hand-painting allows for more precision and detail. When using spray paint, make sure to do so in a well-ventilated area.
Lay down a tarp or newspaper to protect your surroundings from overspray. Hold the can about 6-8 inches away from the prop and use sweeping motions to evenly cover the surface.
It’s best to apply several thin coats rather than one thick coat, as this will minimize drips and ensure a smooth finish. For hand-painting, choose acrylic or enamel paints that are designed for use on plastic surfaces.
Use small brushes of varying sizes depending on the level of detail required. Start with a base coat and then build up layers of color until you achieve the desired effect.
How to Weather and Distress Props for a More Realistic Look
Weathering your prop involves adding wear-and-tear effects such as scratches, scuffs, and rust to give it a more realistic appearance. There are many techniques you can use to weather your props – some popular ones include dry brushing, using sandpaper or steel wool, or applying a wash of black paint.
One easy way to weather your prop is through dry brushing – lightly brushing paint over raised areas on the prop in order to highlight them while leaving recessed areas untouched. This technique creates an illusion of depth that makes the prop look more realistic.
To distress your prop with sandpaper or steel wool, simply rub these materials over the surface of the prop in order to create scratches and scuffs. For rust effects, apply copper or orange paint to the prop and then dry brush with brown or black paint over it.
Adding Final Touches such as Gems or LED Lights
To really elevate your prop to the next level, consider adding some final touches such as gems or LED lights. These additions can add sparkle and shine to your prop, and make it stand out from the crowd.
Gems can be attached using a strong adhesive. Simply place a small amount of glue onto the back of the gemstone and press into place on your prop.
You can also use clear nail polish to help secure the gemstone in place. LED lights are a bit more complex, but can create stunning effects when done correctly.
You will need to purchase battery-powered LED lights and insert them into small holes you’ve created in your prop. Make sure that you conceal any wires for a clean finish.
With these finishing touches, your prop will look like it jumped straight off of the screen! Remember that practice makes perfect – don’t be afraid to experiment with different techniques until you achieve your desired result.
Advanced Techniques
Mastering Molding and Casting
Once you’ve mastered the basics of prop making, it’s time to take things to the next level with molding and casting. This technique involves creating a mold of your prop and then casting it in a variety of materials, including resin or even metal.
It allows for more intricate details and the ability to create multiple copies of your prop easily. The first step is creating a master mold using materials such as silicone rubber or plaster.
Once the master mold is created, it can be used multiple times to create several copies of your prop. You can cast in resin for a lightweight final product or go all out with metal casting for a more durable finish.
It’s important to note that this technique requires additional tools and materials such as release agents, mixing cups, and measuring spoons. However, the end result is truly worth it if you are looking to create high-quality props that will last for years.
Electronics
Adding electronics to your props can take them from basic to truly extraordinary. LED lights can add an extra level of detail, while sound effects can bring your character’s weapon or accessory to life.
When incorporating electronics into your props, safety should always be a top priority. Be sure to follow proper wiring techniques and consider using battery packs instead of plugging directly into an outlet.
To add LED lights, start by drilling small holes into the appropriate areas of your prop where you want them placed. Then insert LEDs through the holes and wire them together using resistors if necessary.
This technique works particularly well on futuristic weapons or accessories such as Iron Man’s arc reactor. When incorporating sound effects, you’ll need speakers and potentially an MP3 player with pre-loaded sound clips.
Consider building hidden compartments within your prop where these devices can be housed without detracting from its overall appearance. Overall, incorporating electronics into your props is a great way to showcase your creativity and take your cosplay to the next level.
Conclusion
Why Prop Making is Important in Cosplay
Prop making is a vital part of the cosplay experience. Creating a truly amazing cosplay involves more than just the costume – it’s all about the details, and props are a crucial part of that.
Whether you’re recreating your favorite character’s iconic weapon or crafting an entirely new design from scratch, a well-made prop can take your cosplay to the next level. Props are also an excellent way to express your creativity and show off your skills.
As we’ve discussed throughout this article, there are countless materials and construction techniques you can use to create unique and stunning props. With some time and effort, you can turn your ideas into tangible works of art that will impress everyone at the convention.
Final Tips and Advice for Creating Amazing Props
If you’re new to prop making, don’t be intimidated! Start small with simple designs and gradually work your way up to more complex projects.
Remember to choose materials based on their suitability for each specific prop; if you’re not sure which material to use, do some research or ask for advice from experienced cosplayers. When it comes to construction techniques, practice makes perfect.
Take your time with each step and don’t rush through any part of the process. It’s also important to pay attention to detail – even small imperfections can detract from an otherwise great prop.
Remember that there are no hard-and-fast rules when it comes to cosplaying or prop making! While it’s important to stay true to the character’s design as much as possible, don’t be afraid to put your own spin on things or experiment with different ideas.
The most important thing is that you have fun and feel confident in what you’ve created. So go forth and create amazing props!
With some creativity, patience, and practice, you’ll be making incredible cosplays in no time. And who knows – you might even inspire someone else to get into the wonderful world of cosplay and prop making.