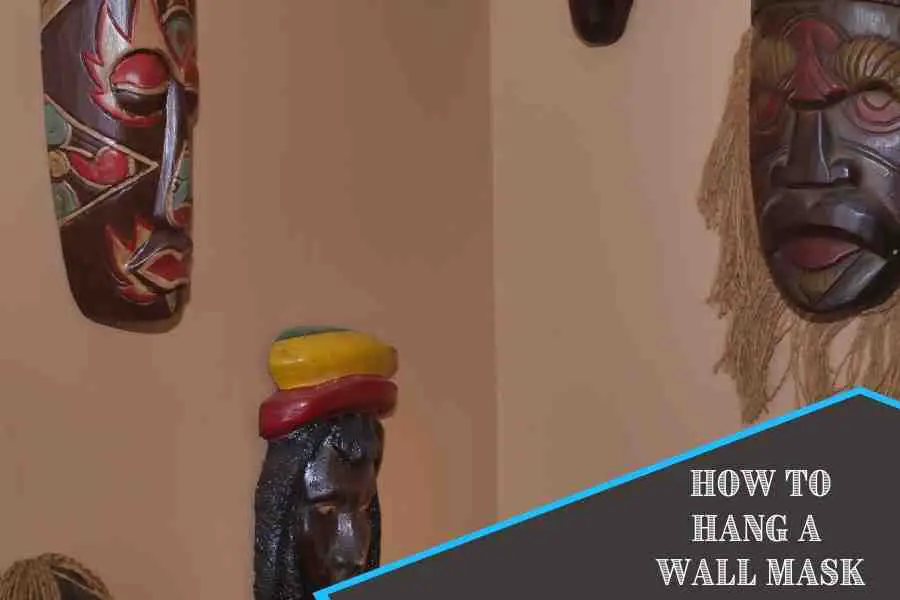
Masks are very important in our history as they are used to represent different cultures. They are associated with the counteraction of the work of nature and, therefore; there are seen as very important in the world. Wall masks express your creativity, at the same time; they are important in decorating homes, as well as bringing out the picture of the whole home. Displaying these masks on walls is greatly influenced by their shapes. Hanging masks on the walls is the best way to make your home look different from others and also helps expressing the personality of a person.
In some instances, the wall masks combine together human, and animal faces with different emotions and this greatly catch the attention of many people as they can be interested to read what is included. There are a number of pieces to choose from according to your tastes and preferences.
Masks are of different colors and texture; some are handmade, and hand painted. They are so unique in that no single one looks like the other. Venetian masks are the best option to choose to hang on your walls as they are made with great skill and lot of concentration. They are the best to decorate the rooms with.
Nails
Press the mask to the wall. Then, tilt it so that its forehead and the eye area rest flat against the wall instead of the lower portion of the face.
While the mask is still there, make marks on the wall through each eye hole with a pencil. The marks should be at the center in each eye.
Set the mask aside.
Then, with a hammer drive in a nail into each of the pencil marks. The nails should be a quarter inch inside the wall. In case of heavier masks and large nails, the nails should be driven deeper
Finally hang the decorative mask on the nails, threading them through the eyes. You can adjust the size of the angle and turn it slowly from side to side to look for the right position.
Hanging String
1. Tighten the string on the back of the mask to stretch across the mask, and ensure it forms a tight line.
2. Cut a rectangular strip of paperboard which should be as wide as the distance between the outer edges of the mask’s eyes and 2-4 inches high.
3. Tape the paperboard to the center of the taut string with masking tape.
4. Then using a wall mounting strip, fasten the paperboard to the wall.
Foam
1. Cut a rectangular piece of foam fitting the mask’s size. Its wideness should be the same as that which is from the outside of one eye to the other on the mask, but it should be twice taller than the height of the mask’s mouth.
2. You may use a double-sided tape to attach this foam to the inside of your mask, in the middle of the forehead.
3. Cut another foam of the same shape and measurement. Attach it to the first one using glue. Repeat this process until you’ve added enough layers that will make sure the foam touches the wall when hanging it on the wall. Then, allow the glue to dry up.
4. Use the mounting squares on the foam pad to attach the mask to the wall.
Wall masks are offered at a great discount on our site. If you have a mind of decorating your house, then hang decorative masks that match the house. Ensure your wall hangings are in the right position to avoid accidents. Decorative masks will always attract the attention of the guests.