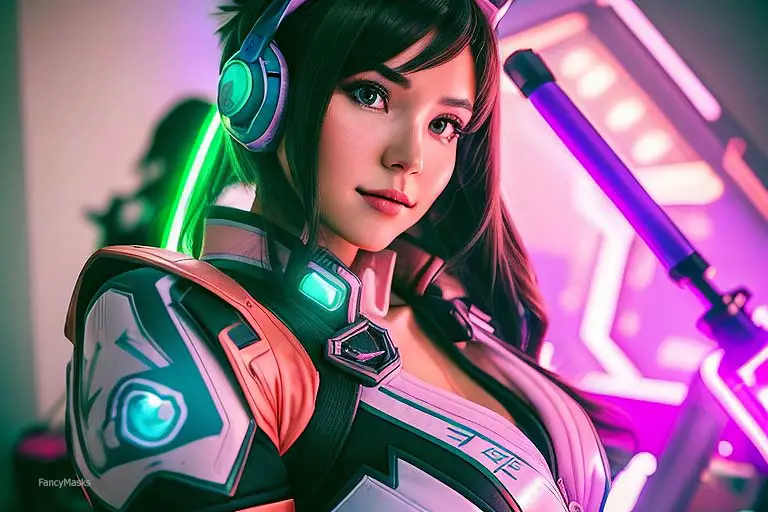
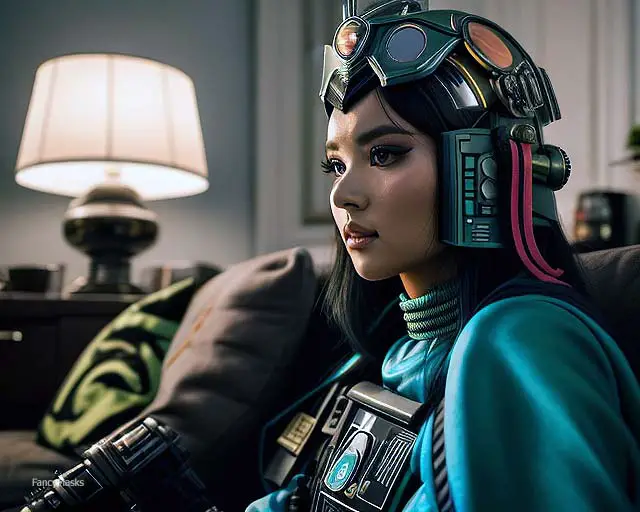
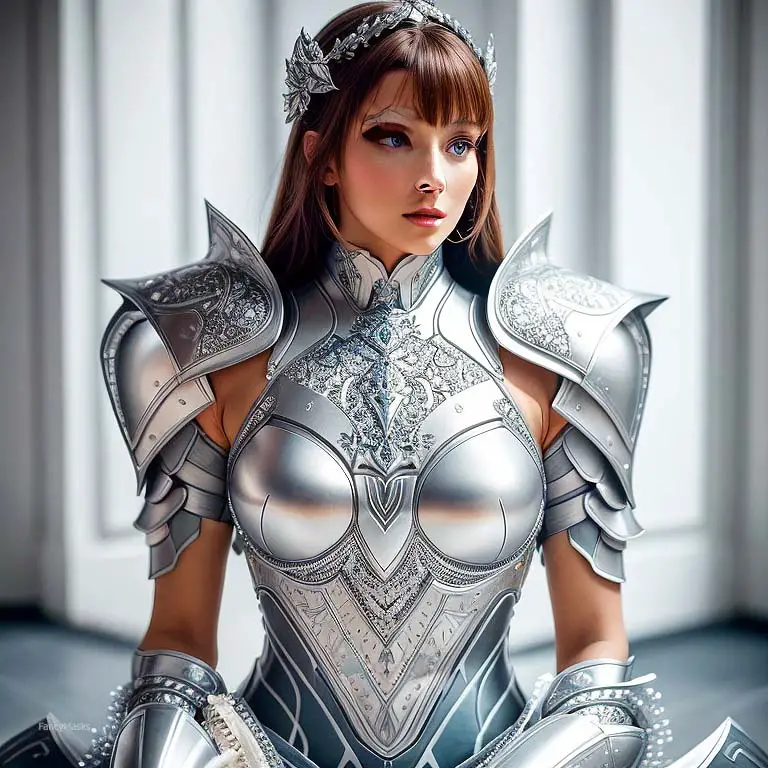
Cosplay has become a popular phenomenon in recent years, with people from all over the world participating in costume play at various conventions and events. Cosplay is essentially a form of performance art where participants wear costumes and accessories to represent a specific character from movies, TV shows, anime/manga, video games or comics.
Many people enjoy cosplay for different reasons; some enjoy the creativity and challenge of creating their own costumes while others love the opportunity to bring their favorite fictional characters to life. Cosplay also provides an excellent opportunity for fans to connect with like-minded individuals who share similar interests.
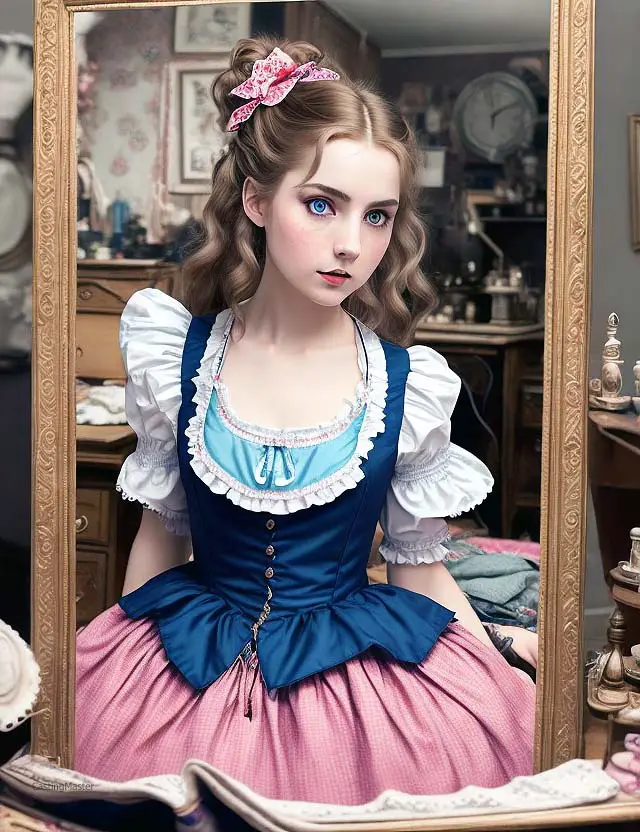
The Importance of Mastering Various Techniques
Creating a cosplay costume involves mastering various techniques such as sewing, foam crafting, painting, wig styling and armor creation. Each technique requires specific skills and tools that are unique to that craft. Taking the time to learn these techniques can help take your costumes to the next level.
Sewing is one of the most essential techniques in cosplay crafting as it forms the foundation of many costumes. Understanding how to choose fabrics and thread suitable for your project will determine how long-lasting your costume will be.
Basic sewing skills such as hemming, gathering, pleating are essential for any beginner while advanced techniques such as linings or invisible zippers require more experience. Foam crafting is another popular technique used in cosplay creation that involves using foam mats or rolls to create complex shapes or armor pieces.
With foam craft skillset you can make intricate props too at times! Sanding down edges or sealing foam pieces together also form crucial parts of this process.
Painting provides an excellent way to add details and textures on different surfaces creating stunning effects that always leave lasting impression on viewers’ minds! Whether you’re painting fabrics like silk or cotton or foam, understanding different types of paint for different surfaces as well as techniques like weathering, shading etc is essential for every cosplayer.
Wig styling is another technique that adds life to any cosplay character and requires precision cutting, layering and styling. Understanding how to choose the right wig or adding hair extensions are also important skills within this technique.
Last but not least comes armor creation which involves shaping materials like Worbla, EVA Foam into beautiful pieces of art that will bring the warrior within your cosplay character alive on stage. Knowing how to shape and design armor pieces using relevant tools such as heat guns and rotary cutters can help improve your skills dramatically.
Mastering various techniques involved in cosplay crafting will help you create memorable and stunning costumes that get you noticed! Taking the time to learn these techniques can be a fun and exciting journey where each skill gained unlocks new possibilities in terms of creating high-quality costumes.
Remember one thing; progress takes time! It’s okay if you don’t master these techniques overnight but practice truly makes perfect!
Choosing the right fabric and thread
One of the most important things to consider when sewing a cosplay is selecting the proper fabric and thread. Different types of fabrics have different characteristics, such as stretch or drape, and choosing the appropriate one can make a big difference in the final look of your costume. For example, if you’re making a flowy dress, you’ll want to choose a fabric that drapes nicely like chiffon or crepe.
If you’re making something more structured, like armor or a corset, you’ll want to choose something stiffer like cotton twill or even leather. When it comes to thread choice, it’s important to use a thread that matches your fabric color-wise but also strength-wise.
Regular sewing thread may not be strong enough for some cosplay needs. Consider using heavier threads for topstitching or reinforcing seams with extra layers of stitches.

Basic Sewing Techniques
Sewing is an essential skill in cosplay crafting because almost every costume requires it – whether you’re hemming pant legs or attaching sleeves. Some basic techniques include hemming (folding under and stitching up raw edges), gathering (sewing multiple pieces of fabric together creating ruffles), pleating (creating folds by folding back and forth in an accordion style), and simple seam joining.
Another basic technique that shouldn’t be overlooked is pressing your seams after stitching. This will help make sure everything lays flat when completed.
Advanced Sewing Techniques
If you’re looking to take your sewing skills to the next level for more advanced costumes, there are several techniques worth learning. One technique is lining which involves adding a second layer of fabric on the inside of your garment that hides all interior stitches and gives it more structure.
Interfacing is another helpful technique that adds stiffness to certain areas like collars and cuffs without adding bulkiness in the fabric. Invisible zippers are also a great way to add seamless closures to any cosplay.
They can be intimidating for beginners, but with practice, they can be an impressive detail that makes your cosplay stand out. Overall, there are a lot of sewing techniques to consider in cosplay crafting, and it’s important to master them in order to achieve the best results possible.
Foam Crafting: Crafting the Perfect Armor
Foam crafting is one of the most versatile and popular techniques in cosplay crafting. With a little practice and patience, you can create incredibly detailed and complex armor pieces that can withstand the rigors of wearing them all day at a convention. There are different types of foam available, each with its own unique properties that make it suitable for different applications.
Types of Foam and Their Uses
The two most commonly used types of foam in cosplay crafting are EVA (ethylene-vinyl acetate) foam and craft foam. EVA foam is denser than craft foam, which makes it more durable and better suited for creating armor pieces that need to hold their shape.
Craft foam, on the other hand, is softer and easier to shape, making it ideal for creating props or accessories. While EVA foam comes in various thicknesses, 5mm thick sheets are commonly used for making armor pieces.
Thicker sheets may be used for larger props or shields. Craft foam typically comes in 2mm or 3mm thicknesses.
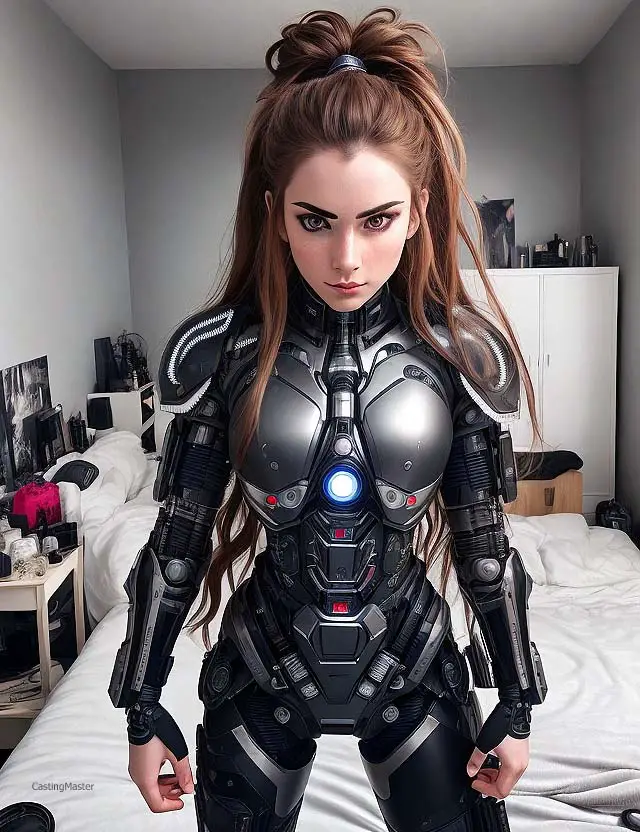
Tools Needed for Foam Crafting
The tools needed for foam crafting are relatively simple compared to some other crafting techniques. A heat gun is essential for shaping the foam by heating it until it becomes pliable enough to mold into shape.
A rotary cutter or X-Acto knife can be used to cut out patterns from the foam sheets. Other useful tools include sandpaper for smoothing out rough edges or surfaces after shaping with heat, as well as a Dremel tool or similar rotary tool with various sanding attachments to help with detailing work.
Techniques for Shaping and Detailing Foam
To shape EVA or craft foam using heat, use a heat gun set at low to medium heat level. Hold the heated area over an object with a similar shape to the desired finished piece and use gentle pressure to mold the foam sheet into the desired shape.
For making curves, carefully bend and hold the foam in place while it cools. For detailing work, use a Dremel tool with various sanding attachments to create intricate designs or textures.
Carving into the foam is also an option for creating deeper grooves or raised areas. After shaping and detailing, seal the surface of the foam using a layer of plasti-dip or similar sealant to protect it from damage.
Foam crafting is an essential skill for cosplayers who want to create their armor pieces and accessories from scratch. With just a few simple tools and materials, you can create incredible pieces that are both durable and lightweight. It may take some practice to perfect your technique, but with time you’ll be able to create stunning pieces that are sure to dazzle at your next cosplay convention!
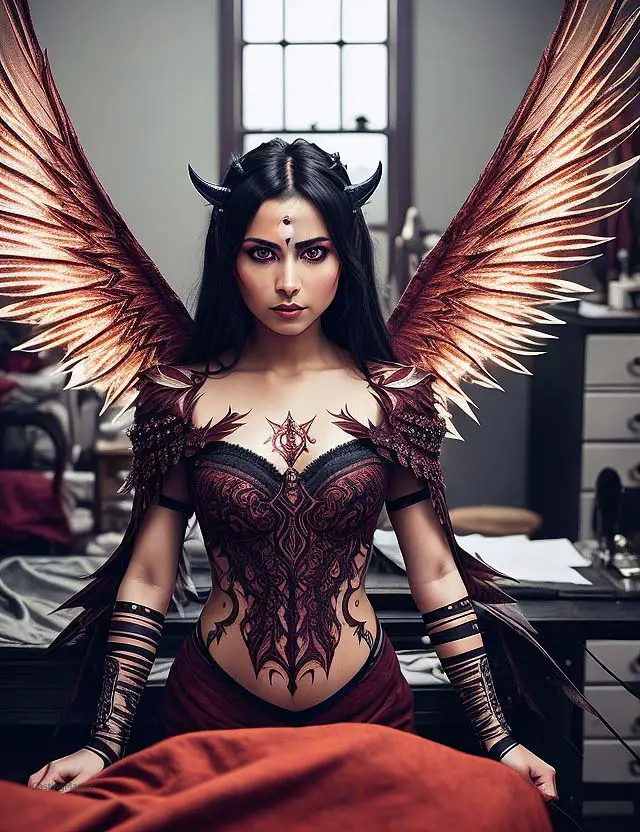
Painting
Types of paint and their uses on different materials
When it comes to painting your cosplay creation, there are several types of paint to consider depending on the material you’re working with. Fabric paint is perfect for adding designs and details to a costume made from fabric, as it can easily be brushed or sprayed onto the surface. Acrylic paint, on the other hand, works best for hard materials like foam or plastic, as it can create a durable finish that won’t crack or peel.
If you’re looking for a metallic finish, metallic paints are perfect for giving your armor pieces that extra shine. And if you want to add some glow-in-the-dark details to your creation, then phosphorescent paints are what you need.
Preparing surfaces for painting
Before applying any kind of paint to your cosplay creation, it’s important to properly prepare the surface by sanding and priming. Sandpaper helps remove any bumps or rough areas that could cause the paint to chip or crack later on. Priming will help keep the paint adhered better and give a smooth base coat that won’t have splotches or spots.
For foam surfaces specifically, using a heat gun before sanding can help smooth out any wrinkles or creases in the foam before priming. This helps ensure an even surface for painting.
Techniques for achieving different effects
Once you have chosen your type of paint and prepared the surface properly, it’s time to start painting! One popular technique used in cosplay crafting is weathering – making costumes look worn and aged by highlighting certain areas with darker shades matched with texture strokes. Another popular technique is shading – adding depth and dimension by adding darker shadows on specific areas such as muscles or folds in clothing- this creates illusion of three-dimensionality instead of flatness which gives an overall professional look.
It’s important to remember that layering makes a significant difference when it comes to achieving the desired effect, so start small and build up from there. Using masking tape is essential in precise painting.
For instance, while painting your armor pieces with different colors- use masking tape to cover the parts not meant to be painted with that color. By utilizing these techniques, you can create a cosplay creation that looks like it jumped straight out of your favorite anime or video game and into the real world!

Wig Styling
Choosing the Right Wig for Your Cosplay Character
When it comes to choosing a wig for your cosplay character, there are a few things to consider. First and foremost, you want to make sure that the color and style of the wig match your character’s appearance as closely as possible. Look for wigs made from high-quality synthetic or human hair fibers that mimic the texture and shine of natural hair.
If you’re not able to find a wig in the exact color or style you need, don’t worry! You can always modify an existing wig by dyeing it with fabric dye or using heat styling tools to create custom curls or waves.
Just be sure to follow proper care instructions so that your newly styled wig lasts through multiple cosplay events. Another important factor when choosing a wig is comfort.
Look for wigs with adjustable straps or combs that can be secured in place without causing discomfort during long periods of wear. You may also want to consider purchasing a separate wig cap to help keep your natural hair out of the way and prevent any itching or irritation.
Basic Styling Techniques (e.g. trimming, layering)
Once you have your perfect cosplay wig in hand, it’s time to start styling! One of the easiest ways to customize a wig is by trimming it down to size. Use sharp scissors designed specifically for cutting hair fibers, and take small sections at a time until you achieve the desired length and shape.
Layering is another popular technique used in cosplay wigs that can add volume, texture, and dimensionality to your character’s hairstyle. To layer a wig, use scissors or thinning shears (scissors with teeth) to carefully remove some sections of hair while leaving others longer.
It’s important not to overdo it with either trimming or layering techniques since both can cause irreversible damage to the wig fibers if not done correctly. Start with small adjustments and work your way up as you gain experience and confidence.
Advanced Styling Techniques (e.g. adding wefts or extensions)
If you’re looking to take your wig styling skills to the next level, consider adding wefts or extensions to your wig for added length or volume. Wefts are small sections of hair that can be sewn directly into the wig cap for a seamless appearance, while extensions are clipped onto existing hair fibers with small metal clips.
Adding wefts or extensions can be time-consuming and requires some basic sewing skills, but the results can be impressive. Just be sure to use high-quality synthetic or human hair fibers that match your existing wig as closely as possible.
Another advanced styling technique is using heat styling tools like curling irons or straighteners to create custom waves or curls in your wig. This requires careful attention and practice since wigs made from synthetic fibers can easily melt under high temperatures.
Overall, wig styling is a fun way to customize your cosplay character’s appearance and bring them to life in new and exciting ways. With some patience, practice, and a little creativity, you’ll soon be a pro at creating unique hairstyles that will turn heads at any cosplay event!
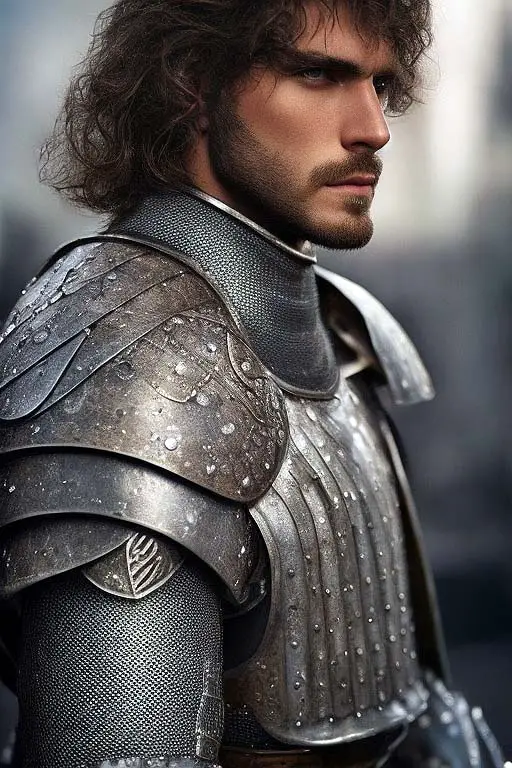
Armor Creation
Materials Used in Armor Creation
When it comes to crafting armor for your cosplay, there are a variety of materials you can choose from. Depending on the character you’re cosplaying, some materials may be more appropriate than others.
Here are some of the most common materials used in armor creation:
- Worbla: A thermoplastic material that can be molded and shaped when heated.
- EVA foam: A durable foam material that is easy to shape and work with.
- Leather: A classic material for armor that adds a realistic touch.
- Foam clay: A moldable clay-like substance that can be sculpted and painted after drying.
- Plastic sheets: Thin sheets of plastic that can be cut and shaped into various forms.
It’s important to note that different materials require different techniques for shaping and detailing. For example, Worbla can be molded with heat while EVA foam requires cutting and sanding to achieve desired shapes.
Tools Needed to Create Armor Pieces
While the specific tools needed will depend on the type of material you choose, here are some general tools you may need when creating armor pieces:
- Craft knife or scissors: For cutting out pieces from your chosen material.
- Sanding paper or rotary tool: To smooth out rough edges or shape hard-to-reach areas.
- Heat gun or hair dryer (for thermoplastics): To heat up the material for molding purposes.
- Pliers or wire cutters: For attaching hardware such as buckles or clasps onto your armor pieces.
- Sewing machine (for leather or fabric): For creating seams and attaching fabric to your armor pieces.
- Paint brushes: For painting and adding detail to your finished armor.
It’s important to have a well-stocked toolkit before starting on any armor creation project. Make sure you have all the necessary tools before beginning, as it can be frustrating to have to stop in the middle of a project because you’re missing something.
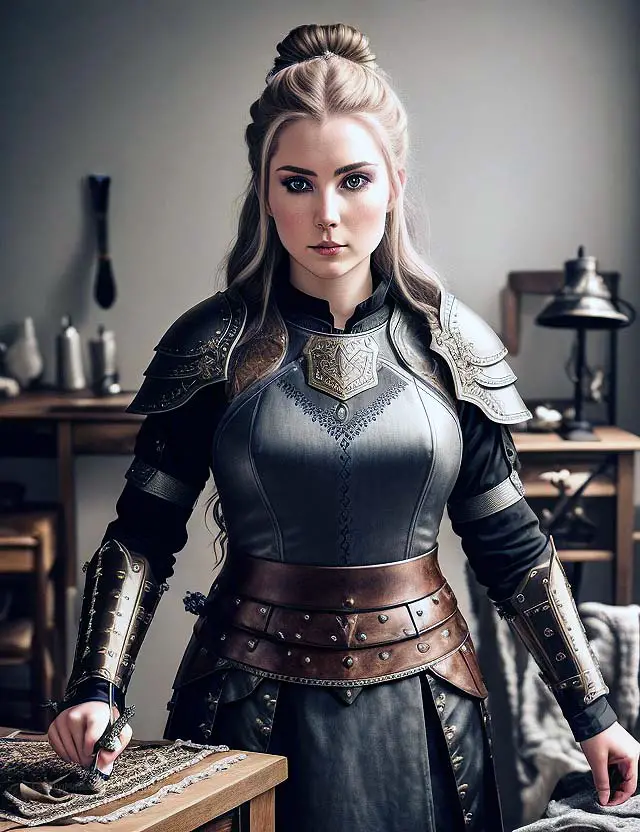
Techniques to Shape Armor Pieces
Shaping and detailing your armor pieces is where the real artistry comes in. Here are some techniques you can use to create different effects:
- Heat shaping: This technique involves using a heat gun or hair dryer to heat up thermoplastic materials like Worbla, allowing them to be molded into specific shapes.
- Layering: By layering different materials like foam and leather on top of each other, you can create a more complex look for your armor pieces.
- Sculpting: Sculpting clay-like materials like foam clay allows for intricate detailing such as small creases or texture lines.
- Painting: Adding color and weathering effects through painting can make your armor look more realistic. Techniques like dry brushing or airbrushing can achieve different results.
- Seaming: Creating seams with a sewing machine can give your armor a more polished look and help it fit better on the body.
The key is experimentation with these techniques until you find what works best for the character and material you’ve chosen. There’s no right or wrong way when it comes to creating cosplay costumes – it’s about finding what works best for you.
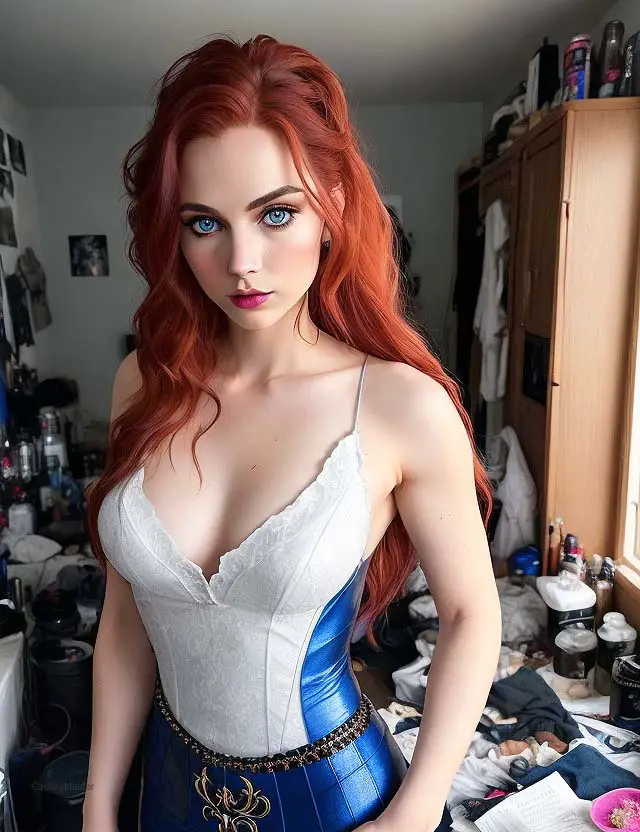
Conclusion: Recap of Key Points on Each Technique
In this article, we’ve covered some of the most essential cosplay crafting techniques that every cosplayer should master. From sewing to foam crafting, painting to wig styling, and armor creation, there are various skills you can develop to improve your cosplay creations. Here’s a brief recap of the key points covered in each section:
Sewing
Sewing is one of the most important skills for any cosplayer. We talked about choosing the right fabric and thread for your project, as well as basic sewing techniques like hemming and gathering. For more advanced sewers, we discussed techniques like lining and interfacing that can take your cosplay costumes to the next level.
Foam Crafting
Foam is an incredibly versatile material for creating armor and other costume pieces. We covered different types of foam and their uses, as well as tools you’ll need like a heat gun or rotary cutter. Techniques like carving or sanding can be used to shape foam into intricate details.
Painting
Painting is a great way to add realistic textures or effects to your cosplay costumes. We discussed types of paint and their uses on different materials such as fabric or foam. Properly preparing surfaces before painting is also important, whether it’s priming or sanding down rough edges.
Wig Styling
Wigs are often an integral part of many cosplay characters’ looks. We talked about how to choose the right wig based on style and color needs, then went over basic styling techniques such as trimming or layering hair strands with scissors or shears.
Armor Creation
Creating armor pieces from scratch can be challenging but also very rewarding for cosplayers who want a completely unique look for their characters! In this section we covered materials used for armor creation, as well as tools needed for shaping and detailing armor pieces. Mastering these techniques is essential to creating a truly impressive cosplay costume.
Whether you’re a beginner or an experienced cosplayer, refining your skills in sewing, foam crafting, painting, wig styling and armor creation can help you stand out from the crowd. Remember that these techniques take time and practice to perfect but with dedication and patience you’ll be able to craft costumes that will amaze everyone who sees them!


